Brand: Agfa
Category: Camera
Document Type:
Language: EN
Brand: Agfa
Category: Camera
Document Type:
Language: EN
Uploaded: Aug. 9, 2025, 11:36 p.m.
No warranty information is available in this manual.
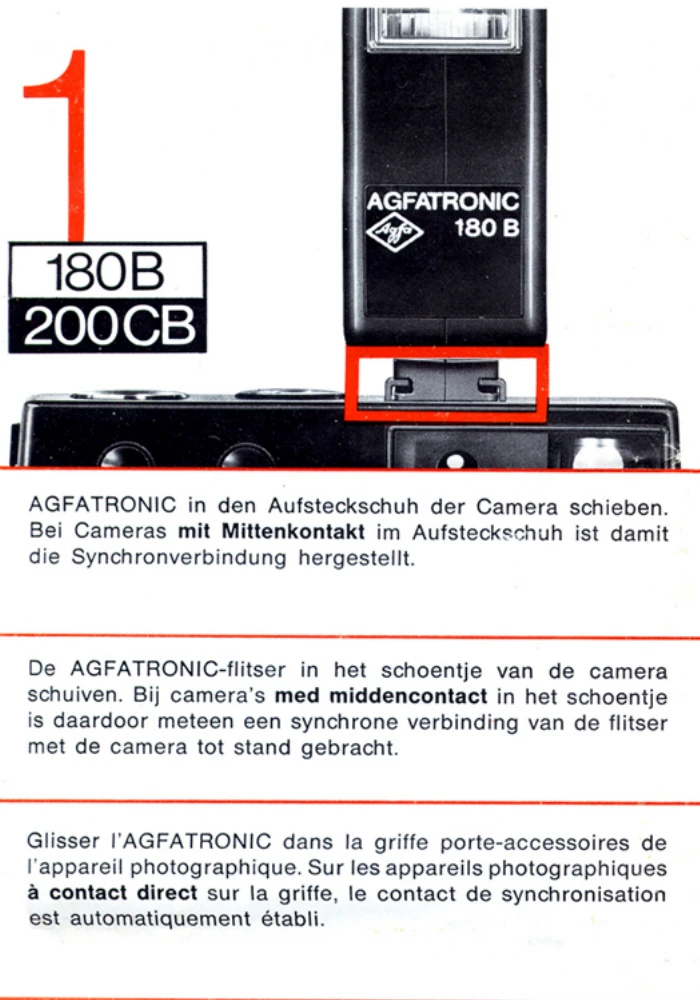
1. Mounting the flash: Slide the AGFATRONIC into the accessory shoe of the camera. If the camera has a center contact, the synchronization contact is automatically established.
2. Connecting via sync cord: Connect the sync cord to the socket on the rear of the flash unit, slide the AGFATRONIC into the accessory shoe, and connect the other end of the cord to the camera flash contact. For cameras with different sockets, use X or the appropriate symbol.
3. Shutter speed setting: Consult your camera's manual. For cameras with automatic exposure, use 1/30 sec or f/. For cameras without automatic exposure, use 1/125 sec. For cameras with a focal plane shutter, usually 1/30 or 1/60 sec.
4. Automatic shutter speed setting: On some camera models, inserting the flash unit into the accessory shoe automatically sets the shutter speed (e.g., 1/30 sec).
5. Setting film speed: Set the film speed on the aperture calculator. Read the f/stop number opposite the distance and set it on the camera. If rapid succession flash exposures are made, it is advisable to open the diaphragm somewhat further.
6. Operating the flash: Turn the operating switch to the right. The ready light indicates readiness. Recycling time with new batteries is approx. 8-10 sec.
7. Computer flash: For computer flash, set the computer key to the left. The computer regulates exposure between 20 in. and 11.5 ft. by setting flash durations from 1/800 to 1/50,000 sec.
8. Setting film speed for computer flash: Set the film speed on the aperture calculator. Read the f/stop next to the red mark and set it on the camera.
9. Using flash without computer: Set the computer key to the right. If the built-in automatic flash control cannot be turned off, turn off the computer and use the camera's automatic flash control.
10. Replacing batteries: Slide up the cover. Insert four batteries as shown, observing polarity. Remove batteries if the unit is not used for a longer period.
11. Battery performance: See table for recycling time and flashes per set of batteries.