Brand: ASUS
Category: Networking
Document Type: Manual
Language: EN
Brand: ASUS
Category: Networking
Document Type: Manual
Language: EN
Uploaded: April 20, 2026, 7:45 p.m.
Manual Publish Date: 2006-04-01
Product warranty or service will not be extended if the product is repaired, modified or altered without authorization, or if the serial number is defaced or missing.
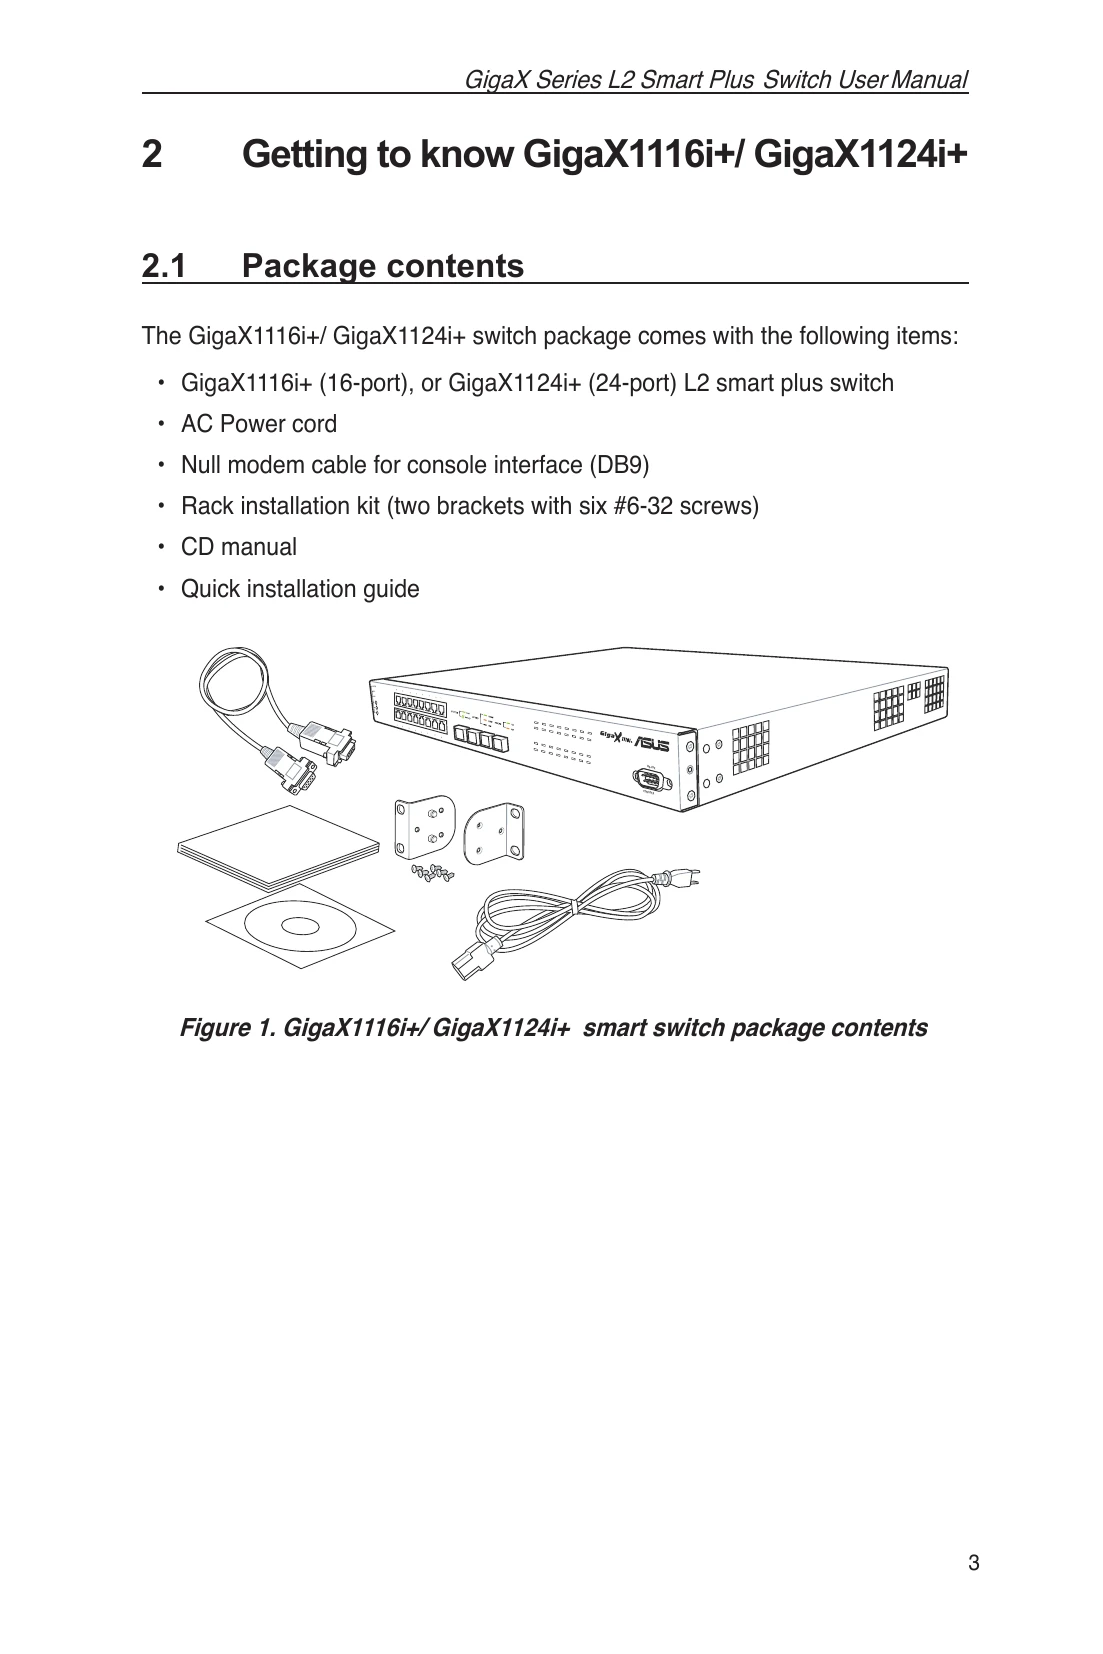
Congratulations on becoming the owner of the ASUS GigaX1116i+/ GigaX1124i+ L2 smart plus switch! You may now manage your LAN (local area network) through a friendly and powerful user interface.
This user guide tells you how to set up the GigaX1116i+/ GigaX1124i+ smart switch, and how to customize its configuration to get the most out of this product.
| Problem | Suggested Action |
|---|---|
| SYSTEM LED does not light up after the switch is turned on. | Verify if the power cord is securely connected to the switch and a wall socket/power strip. |
| Gigabit Ethernet Link LED does not illuminate after an Ethernet cable is attached. | 1.Verify if the Ethernet cable is securely connected to your LAN switch/hub/PC and to the switch. Make sure the PC and/or hub/switch is turned on. 2. Verify if your cable is sufficient for your network requirements. A 100/1000 Mbps network (1000BaseTX) should use cables labeled Cat 5 or Cat6. 10Mbit/sec cables may tolerate lower quality cables. |
| PC cannot access another host in the same network | 1.Check the Ethernet cabling is good and the LED is green. 2.If the port LED is amber, check if this port is disabled. You may experience a disconnected network in a short period (around 1 minute) if you just turned on the STP. |
| PCs cannot display web configuration pages. | 1.The switch is powered up and the connecting port is enabled. The factory default IP for the switch is 192.168.1.1. 2. Verify your network setup in your PC for this information. If your PC does not have a valid route to access the switch, change the switch IP to an appropriate IP that your PC can access. 3.Ping "switch IP” from the PC, if it still fails, repeat step 2. 4.If ping is successful but the web configuration still fails, connecting PC through the console port by a RS232 or USB, check if any filter rule or static MAC address is set to block the WEB traffics. |
| You forgot/lost your WEB Configuration Interface password. | 1.Use super password "asus2357" to enter the console mode. 2.After login to console, refer to section 5.2.1 to restore factory default or section 5.2.2 to set new password |
| Some pages do not display completely | 1.Verify that you are using Internet Explorer v5.5 or later. Netscape is not supported. 2.Ping the switch IP address to see if the link is stable. If some ping packets fail, check your network setup to make sure a valid setting. |
| Cannot show the texts on the terminal emulator. | 1.The factory default baud rate is 9600, no flow control, 8 bit data, no parity check and stop bit is one. 2.Check if the cable is good. |