Manual for H-8931

Manual for H-8931

Brand: DEWALT

Category: Vacuum Cleaner

Document Type: Manual

Language: EN

Uploaded: Nov. 21, 2025, 8:24 p.m.

OPERATION

  1. Pull lid latches in outward motion, remove power head and any accessories that may have been shipped in tank.
  2. Attach accessories following these instructions.
  3. Before replacing power head, refer to these instructions to ensure proper filters are installed for the cleaning operation.
  4. Replace power head, and apply pressure with thumb to each latch until it snaps tightly in place. Ensure all lid latches are clamped securely.
  5. Insert air hose end into inlet of tank.
  6. Attach extension wands to the accessory end of hose. Apply slight pressure until fitting is tight.
  7. Attach one of the cleaning accessories (depending on cleaning requirements) to extension wands. Twist slightly to tighten connection.
  8. Plug cord into wall outlet. Vacuum is ready for use.
  9. To reduce risk of injury from accidental starting, always shut off vacuum and disconnect the power plug from wall outlet before installing any part or cleaning accessory.

CASTER ASSEMBLY

  1. Invert tank.
  2. Align casters with indented caster grooves in tank.
  3. Firmly push casters down into position. Secure each with one provided screw. (See Figure 1)

ACCESSORY BAG HOLDER BRACKET ASSEMBLY

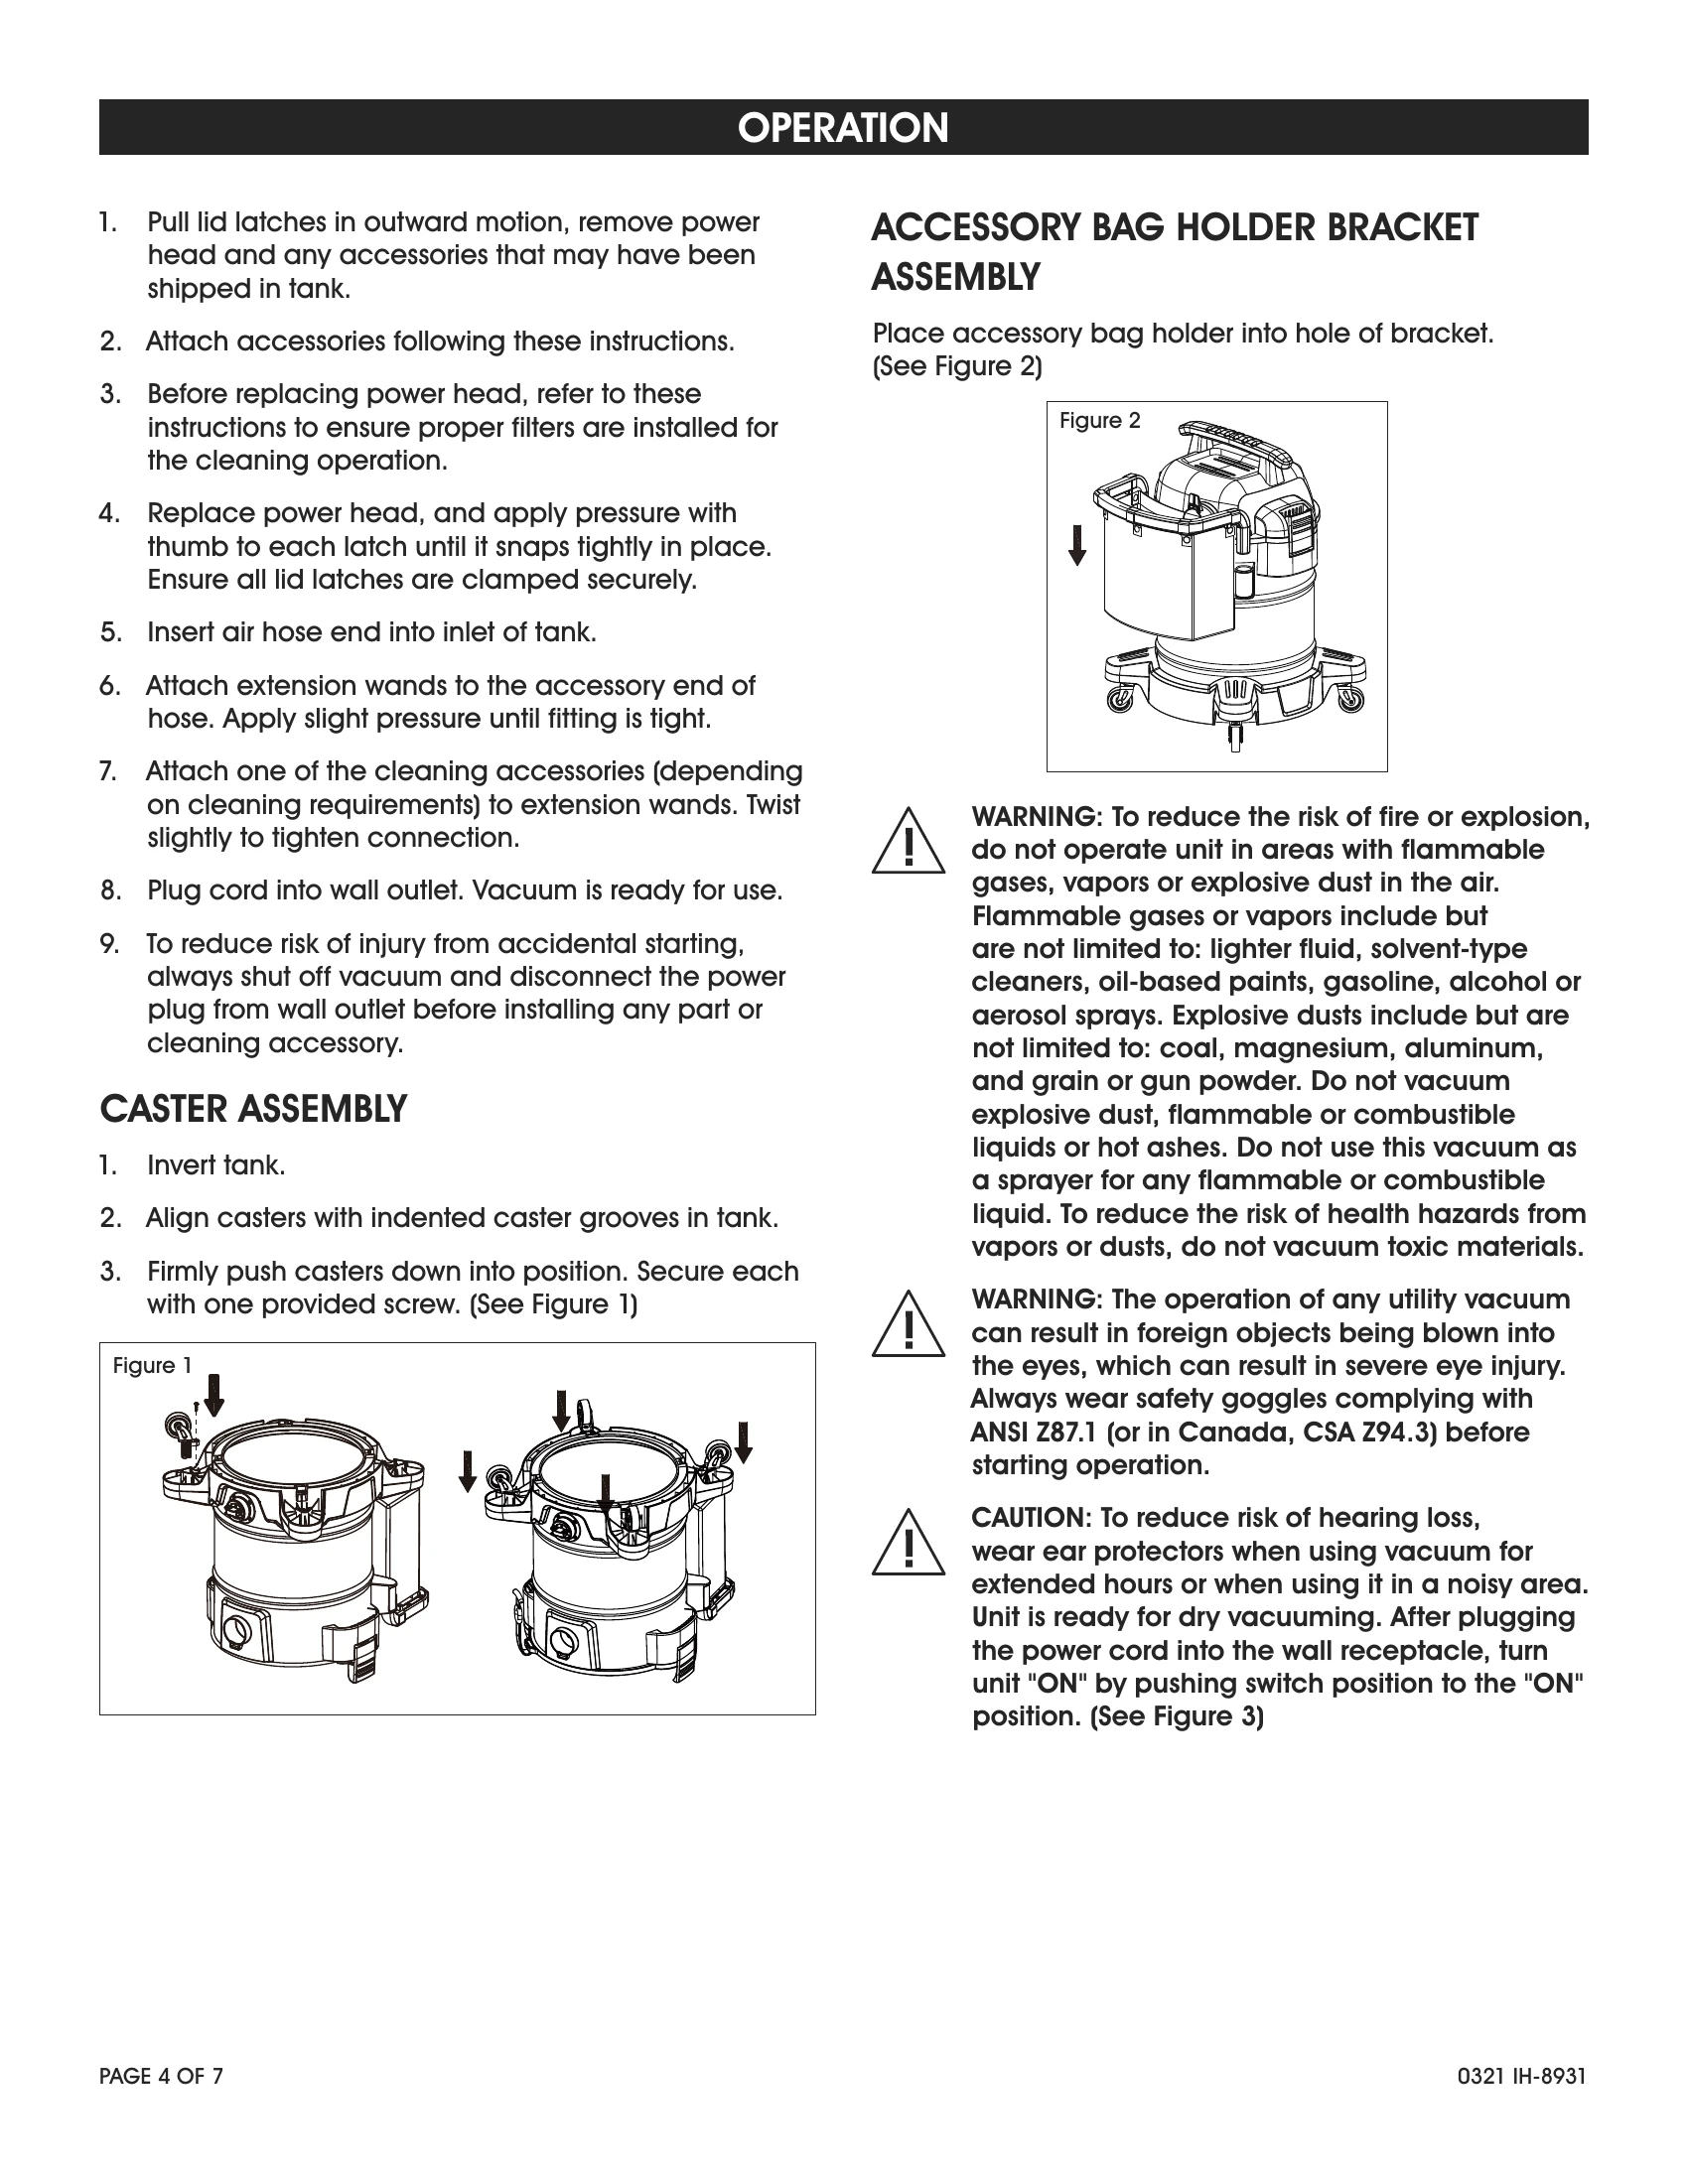
Place accessory bag holder into hole of bracket. (See Figure 2)

DRY PICK-UP

  1. Filter must always be in correct position to reduce risk of leaks and possible damage to vacuum. Ensure filter is completely covering the filter cage. Ensure there are no gaps between the filter and the lid. It is important to assemble the filter to the cage without allowing any possible leaks or tears. Any leaks will allow picked-up debris to be blown out of blowing port and back into surrounding environment.
  2. When using vacuum to pick up very fine dust, empty dust tank and clean or replace filter at more frequent intervals to maintain peak vacuum performance.

INSTALLING DISPOSABLE FILTER BAG

  1. Filter bag may be used for additional filtration. Slide cardboard collar opening firmly onto vacuum port deflector until it stops against deflector wall.
  2. Position bag so it is distributed around inside of tank.
  3. Replace and secure power head onto tank. (See Figure 4)

WET PICK-UP

  1. Always disconnect plug from wall outlet before removing power head. Place power head in an upside down position. Remove cartridge filter by sliding it up and off filter cage.
  2. Shake excess dust off cartridge filter with a rapid up-and-down movement.
  3. This wet/dry vacuum is equipped with a float mechanism which will rise automatically to cut off airflow when liquid in tank reaches a pre-determined level. When this happens, turn off vacuum, unplug power cord and empty dust tank. Float has shut the airflow off when suction ceases and the motor noise becomes higher in pitch due to increased motor speed. The liquid capacity may vary with the rate of pickup.

EMPTY THE TANK

  1. Remove power head assembly of wet/dry vacuum by pulling outward on lid clips located on each side of vacuum. Lift off power head assembly.
  2. Dump tank contents into proper waste disposal container.
  3. Liquids may be emptied through tank drain. To empty, turn off unit and remove plug from wall outlet. Remove drain cap and deposit liquid waste contents in suitable drain. After tank is empty, return drain cap to its original position. To continue use, plug cord into wall outlet and turn on the unit. (See Figure 6)

BLOWING OPERATION

  1. Locate blowing port on the vac.
  2. Insert one end of the 178" x 7' hose into the blowing port. (See Figure 7)
  3. Turn vacuum "ON".

INSTALLING THE CARTRIDGE FILTER

  1. With power head in an upside down position, slide the cartridge filter down over the lid cage and push the filter seals against the power head.
  2. Turn knob on filter retainer clockwise to tighten, locking the filter into place.
  3. To remove filter for cleaning, turn filter knob counterclockwise until feeling the tactile and auditory cue. Align knob arrow with "Unlock" icon on the filter cap. Slide the cartridge filter off the lid cage. Grasp step of knob tightly to pull cartridge filter out of cage.
  4. To clean cartridge filter, shake or brush off excess dirt or rinse (from inside of filter) with water, dry completely (approximately 24 hours) and re-install. (See Figure 8)

CLEANING

  1. Dump out debris.
  2. Wash tank thoroughly with warm water and mild soap.
  3. Wipe out with dry cloth.

STORAGE

Before storing vacuum, dust tank should be emptied and cleaned. Cord should be wrapped and hung on unit and accessories should be kept in accessory holder so they can be readily available. Vacuum should be stored indoors.

Privacy Policy