Manual for fi-6130 / fi-6230

Manual for fi-6130 / fi-6230

Brand: FUJITSU

Category: Computers

Document Type: Manual

Language: EN

Uploaded: Nov. 21, 2025, 6:19 p.m.

Manual Publish Date: 2007

Warranty Information

No warranty information available in the provided document excerpt.

Chapter 4 DAILY CARE

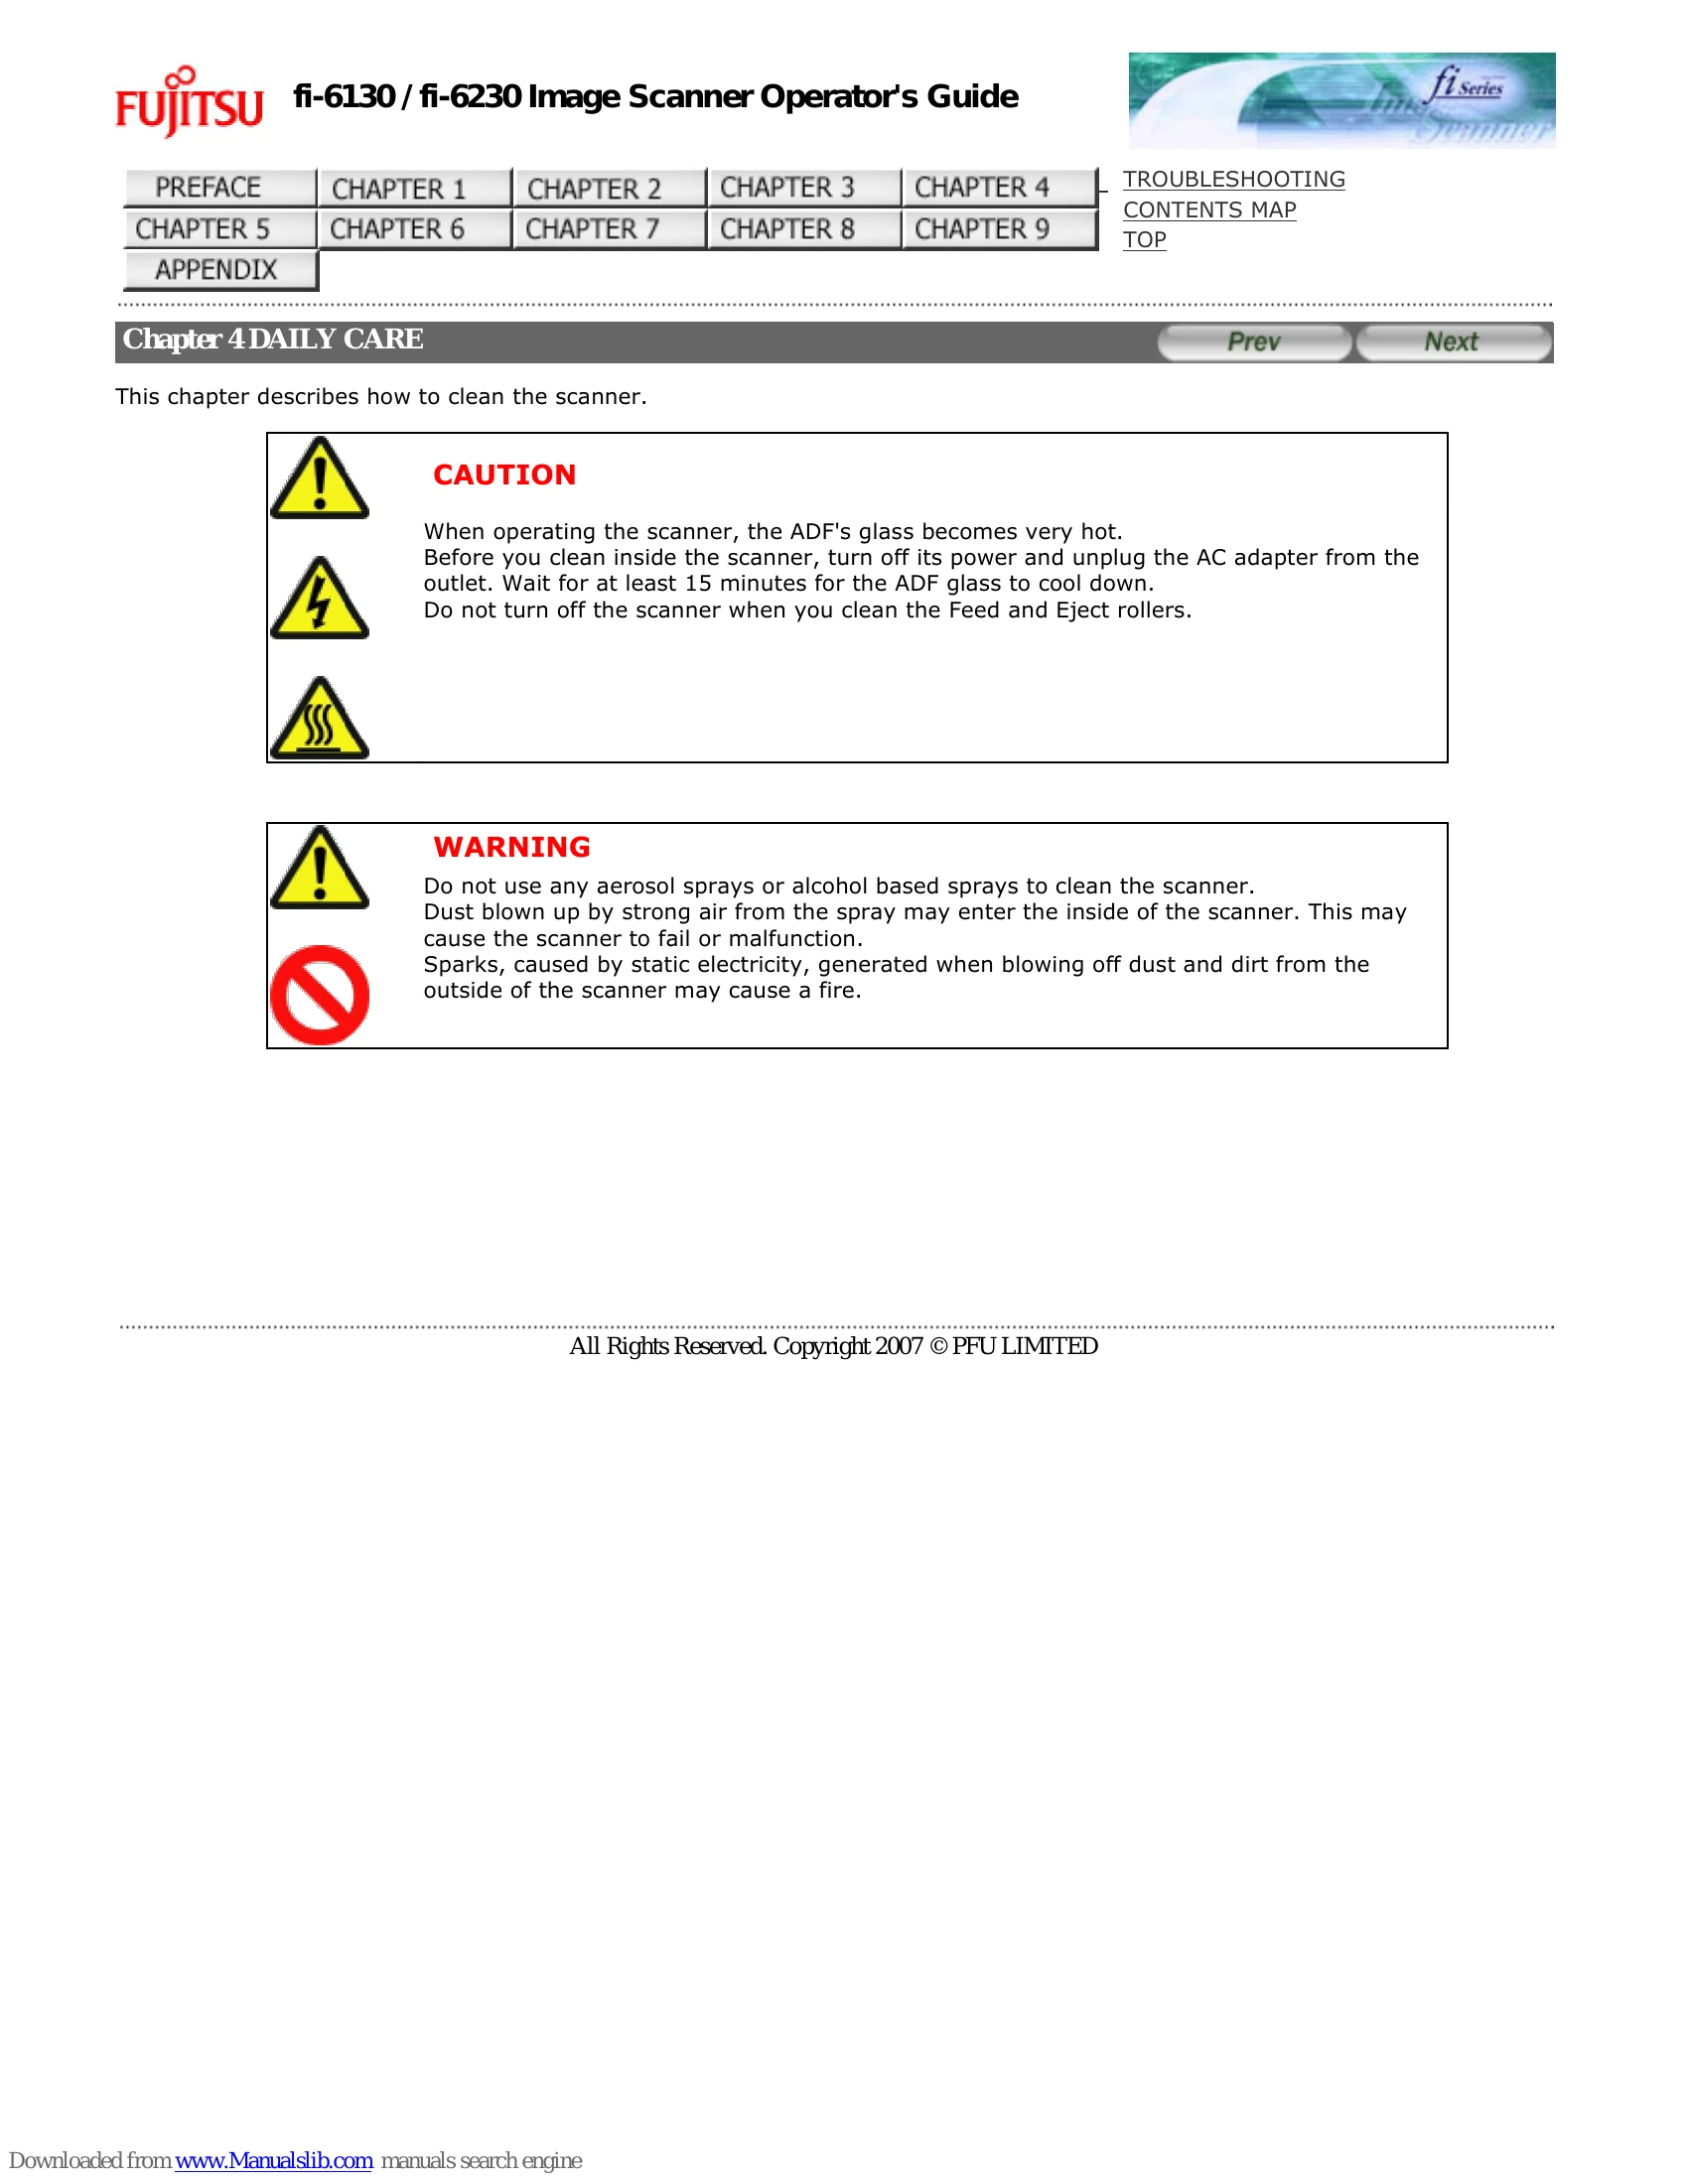
This chapter describes how to clean the scanner.

CAUTION

  • When operating the scanner, the ADF's glass becomes very hot.
  • Before you clean inside the scanner, turn off its power and unplug the AC adapter from the outlet. Wait for at least 15 minutes for the ADF glass to cool down.
  • Do not turn off the scanner when you clean the Feed and Eject rollers.

WARNING

  • Do not use any aerosol sprays or alcohol based sprays to clean the scanner.
  • Dust blown up by strong air from the spray may enter the inside of the scanner. This may cause the scanner to fail or malfunction.
  • Sparks, caused by static electricity, generated when blowing off dust and dirt from the outside of the scanner may cause a fire.

4.1 Cleaning Materials and Locations Requiring Cleaning

Cleaning Materials

The table below shows the cleaning materials that are used on this scanner.

Cleaning MaterialsPart No.Remarks
Cleaner F1PA03950-03521 bottle (100 ml) Moisten cloth with this fluid and wipe the scanner clean. (*1)
Cleaning wipePA03950-041924 sheets per pack (*1)(*2)
Soft, dry clothCommercially available.

*1: For details on Cleaner F1, consult the agent where you bought your scanner or an authorized FUJITSU service provider.
*2: Pre-moistened with Cleaner F1, Cleaning Wipes are used instead of moistened cloths.

Locations and Cycle for Cleaning

LocationStandard Cleaning Cycle
Brake rollerClean every 5,000 scanned sheets.
Pick roller
Feed roller
Plastic roller
Eject roller
Glass
Ultrasonic sensor

ATTENTION

The scanner must be cleaned more frequently when the following documents are used:

  • Documents of coated paper
  • Documents with printed text or graphics almost covering the entire surface
  • Chemically treated documents such as carbonless paper
  • Documents containing a large amount of calcium carbonate
  • Documents written by pencil
  • Documents on which the toner is not fused sufficiently

Detergent for cleaning windows or glass cleaner can be used instead of Cleaner F1. However, do not use paint thinner or other organic solvents.

4.2 Cleaning the Flatbed [fi-6230 only]

  1. Open the document cover.
  2. Clean the following locations using a soft cloth moistened with Cleaner F1.

ATTENTION

Do not allow moisture to get inside the device during cleaning.

  1. Wait for cleaned parts to dry.
  2. Gently close the document cover.

4.3 Cleaning the ADF

As a Guideline, clean the ADF every 5,000 scanned sheets. Note that this guideline varies according to the type of documents you scan. For example, it may be necessary to clean the ADF more frequently if documents are scanned when the toner is not sufficiently fixed on the printout.

CAUTION

  • The glass surface of the ADF becomes hot during the operation of the scanner.
  • Before you start to clean the inner parts of the scanner, disconnect the AC adapter from the power outlet, and wait at least 15 minutes to let the glass cool down.
  1. Open the ADF by pushing on the ADF open lever and turning the ADF to the front.

CAUTION

Be careful, the ADF may close and pinch your finger.

  1. Clean the following locations with a soft, dry cloth moistened with Cleaner F1.
No.Item
1Brake rollers (x 2)
2Feed rollers (x 2)
3Eject rollers (x 2)
4Glasses (x 2)
5Pick rollers (x 2)
6Plastic rollers (x 4)
7Ultrasonic sensors (x 2)

ATTENTION

To avoid damaging the document sensors, take care that the cloth does not get hooked into them when cleaning the inside of the ADF.

Brake roller

Lightly clean the Brake roller along the grooves on the roller taking care not to scratch the roller surface. When cleaning the Brake roller, remove it from the scanner. For how to remove the Brake Roller, see Section "5.3 Replacing the Brake Rollers."

Pick roller

Lightly clean the Pick roller along the grooves on the roller taking care not to scratch the roller surface. Take particular care in cleaning this roller as black debris on it adversely affects the pickup performance.

Plastic roller

Lightly clean the Plastic roller taking care not to damage the roller surface. Take particular care when cleaning this roller as black debris on it affects document pick performance. Be careful not to damage the sponges attached around the middle of the roller.

Glass

Clean lightly.

HINT: If the glass is dirty, vertical streaks may apper in the scanned images.

Ultrasonic sensor

Clean lightly with a dry cloth.

Feed roller/Eject roller

  1. Open the ADF when the indication of the Function Number display is not "P" or "0". If you open the ADF when the indication of the Function Number display is "P" or "0", the Feed rollers/Eject rollers will not rotate even you perform the operation of step 2 below.
  2. Simultaneously hold down the [Send to] and [Scan] buttons on the Operator Panel. The Feed rollers/Eject rollers start to rotate slowly.
  3. Hold a soft cloth moistened with cleaning fluid against the surface of the rotating Feed rollers so that it lightly cleans the surface of the rollers. Take particular care when cleaning these rollers as black debris on these rollers affects pickup performance. As a guideline, seven presses of the [Send to] and [Scan] buttons make the Feed rollers/Eject rollers to rotate one full turn.

CAUTION

In step 2, all the Feed rollers/Eject rollers turn at the same time. When cleaning the Feed rollers or Eject rollers, be careful not to touch the other rotating Feed rollers/Eject rollers.

  1. Press down on the center of the ADF to return it to its original position until the ADF button locks.

ATTENTION

When the ADF has returned to its original position, make sure that it is completely closed. Feeding errors may occur if the ADF is not closed completely.

Troubleshooting and error codes

Symptom Troubleshooting Steps
The scanning does not start.
  • Did you unlock the transport lock of the Flatbed? (fi-6230 only) - NO: Turn OFF the scanner and unlock the transport lock. (Refer to "2.1 Installing the Scanner in "fi-6130/fi-6230 Getting Started.")
  • Are the document loaded correctly on the ADF paper chute? - NO: Load the document correctly on ADF paper chute.
  • Is the ADF closed completely? - NO: Remove the document in the ADF paper chute, open the ADF, and then close it completely.
  • Is the interface cable connected correctly? - NO: Connect the interface cable correctly. (Refer to "2.2 Connecting the Scanner to Your PC" in "fi-6130/fi-6230 Getting Started.")
  • Is the connector of interface cable broken? - YES: Use a new interface cable and correctly connect it.
  • Does the scanning start after running ON the scanner again? - NO: The scanner operation is normal.
Quality of scanned pictures or photos is not satisfactory when scanning in black and white.
  • Did you select halftoning or dithering? - NO: On the scanner driver, select "halftoning" or "dithering" before scanning documents.
  • Are the upper/lower glasses and rollers inside the ADF or the document bed and document holding pad of the Flatbed (fi-6230 only) clean? - NO: Clean the dirty locations. (For details on how to clean the dirty locations, see Chapter "4 DAILY CARE.")
Quality of scanned text or lines is unsatisfactory.
  • Are the upper/lower glasses and rollers inside the ADF or the document bed and document holding pad of the Flatbed (fi-6230 only) clean? - NO: Clean the dirty locations. (For details on how to clean the dirty locations, see Chapter "4 DAILY CARE.")
  • Is there any debris (paper powder or dust) on the document? - YES: Remove the debris from the document. Such debris on the document may be transferred onto the the upper/lower glasses and rollers inside the ADF or the document holding pad of the Flatbed (fi-6230 only), causing the scanned image dirty.
Images are distorted or blurred.
  • Are the upper/lower glasses and rollers inside the ADF or the document bed and document holding pad of the Flatbed (fi-6230 only) clean? - NO: Clean the dirty locations. (For details on how to clean the dirty locations, see Chapter "4 DAILY CARE.")
  • Was the ADF pressed down or some heavy object placed on the ADF during scanning? - NO: Do not press down the ADF or place any heavy object on the ADF during scanning.
  • Was something causing the scanner to vibrate during scanning? - NO: Do not allow anything to cause the scanner to vibrate while scanning.
  • Is the scanner installed on a flat, level surface? Or, are the rubber pads attached to the bottom of the scanner? - NO: Install the scanner on a flat, level surface. Or, attach the rubber pads.
Vertical lines appear in the scanned image.
  • Did you scan the document with the Flatbed? (fi-6230 only) - NO: Clean the document bed of the Flatbed. (For details on how to clean the document bed of the Flatbed, see Section "4.2 Cleaning the Flatbed [fi-6230].")
  • Are the upper/lower glasses and rollers of the ADF dirty? - NO: Clean the upper/lower glasses and rollers inside the ADF. (For details on how to clean the glasses and rollers, see Section "4.3 Cleaning the ADF.")
  • Is there any debris (paper powder or dust) on the document? - YES: Remove the debris from the document. Such debris on the document may be transferred onto the upper/lower glasses and rollers inside the ADF or the document holding pad of the Flatbed (fi-6230 only), producing vertical lines in the scanned image.
  • Do the lines disappear on images with low resolution settings? - YES: After this, scan the documents with low resolution settings.
The Function Number Display indicates alarm (with [E] or other alphabetical letter plus a number) after the scanner is turned ON.
  • Did you unlock the transport lock of the Flatbed? (fi-6230 only) - NO: Turn OFF the scanner and unlock the transport lock, then turn ON the scanner again. (Refer to "2.1 Installing the Scanner in "fi-6130/fi-6230 Getting Started.")
  • Does the Function Number Display indicate any alarm after turning ON the scanner again? - NO: The scanner operation is normal.
Multifeed errors occur frequently.
  • Do the documents satisfy the conditions described in Precautions in Section "7.2 Document Quality"? - NO: Use documents that satisfy the requirements. (For details of the requirements, see Section "7.2 Document Quality.")
  • With the Multifeed Detection set to ON, did you configure the settings for detecting multifeeds correctly? - NO: Configure the settings for detecting multifeeds correctly. (For details of the multifeed detection conditions, see Section "7.5 Multifeed Detection Conditions.") Specify the multifeed detection range, if needed. (See Section 3.9 Detecting Multifeeds.")
  • Have you scanned a very thick paper or plastic card? - YES: When scanning documents like this, disable the Multifeed Detection.
  • Were the documents fanned before loaded onto the ADF paper chute? - NO: Fan the documents before loading, or reduce the number of sheets of the documents.
  • Have the documents just been printed out on a copier or laser printer? - NO: Fan the documents 3 or 4 times to remove static electricity from the paper.
  • Is the document stack less than 5 mm thick? - NO: Reduce the number of sheets of the document stack.
  • Are all the consumables (Pick rollers and Brake rollers) installed correctly? - NO: Correctly install the consumables. (For how to install them, see Chapter "5 REPLACING CONSUMABLES.")
  • Is any of consumables (Pick rollers and Brake rollers) dirty? - NO: Clean the dirty consumables. (For how to clean them, see Section "4.3 Cleaning the ADF.")
  • Is any of consumables (Pick rollers and Brake rollers) worn out? - NO: Check the consumables counters. Replace the consumables, if needed. (For how to replace the consumables, see Chapter "5 REPLACING CONSUMABLES.")
Pickup errors occur frequently.
  • Do the documents satisfy the conditions described in Precautions in Section "7.2 Document Quality"? - YES: Use documents that satisfy the requirements. (For details of the requirements, see Section "7.2 Document Quality.")
  • Were the documents fanned before loaded onto the ADF paper chute? - YES: Fan the documents before loading, or reduce the number of sheets of the documents.
  • Are all the consumables (Pick rollers and Brake rollers) installed correctly? - YES: Correctly install the consumables. (For how to install them, see Chapter "5 REPLACING CONSUMABLES.")
  • Is any of consumables (Pick rollers and Brake rollers) dirty? - NO: Clean the dirty consumables. (For how to clean them, see Section "4.3 Cleaning the ADF.")
  • Is any of consumables (Pick rollers and Brake rollers) worn out? - NO: Check the consumables counters. Replace the consumables, if needed. (For how to replace the consumables, see Chapter "5 REPLACING CONSUMABLES.")
Paper jams occur frequently.
  • Do the documents satisfy the conditions described in Precautions in Section "7.2 Document Quality"? - YES: Use documents that satisfy the requirements. (For details of the requirements, see Section "7.2 Document Quality.")
  • Is there any debris in the ADF? - NO: Clean the ADF or remove the debris from the ADF. (For how to clean the ADF, see Section "4.3 Cleaning the ADF.")
  • Are all the consumables (Pick rollers and Brake rollers) installed correctly? - NO: Correctly install the consumables. (For how to install them, see Chapter "5 REPLACING CONSUMABLES.")
  • Is any of consumables (Pick rollers and Brake rollers) dirty? - NO: Clean the dirty consumables. (For how to clean them, see Section "4.3 Cleaning the ADF.")
  • Is any of consumables (Pick rollers and Brake rollers) worn out? - NO: Check the consumables counters. Replace the consumable, if needed. (For how to replace the consumables, see Chapter "5 REPLACING CONSUMABLES.")
The scanned images are elongated when scanned from the ADF.
  • Are the rollers dirty? - NO: Clean the dirty rollers. (For how to clean the rollers, see Section "4.3 Cleaning the ADF.")
  • Is any of consumables (Pick rollers and Brake rollers) worn out? - NO: Check the consumables counters. Replace the consumables, if needed. (For how to replace the consumables, see Chapter "5 REPLACING CONSUMABLES.")
  • Have you adjusted the scan scale? - NO: Display the properties of the scanner that you are using on "Scanners and Cameras" in the control panel, then adjust the scan scale.
There is a shadow on the leading edge of the scanned images.
  • Did you adjust the offset (starting position for scanning the document)? - NO: Display the properties of the scanner that you are using on "Scanners and Cameras" in the control panel, then adjust the [Sub-scan Setting].
Privacy Policy