Brand: GE
Category: Digital Camera
Document Type:
Language: EN
Brand: GE
Category: Digital Camera
Document Type:
Language: EN
Uploaded: Aug. 9, 2025, 11:57 p.m.
Manual Publish Date: 2011-01-01
Copyright 2011 General Imaging Company. All rights reserved.
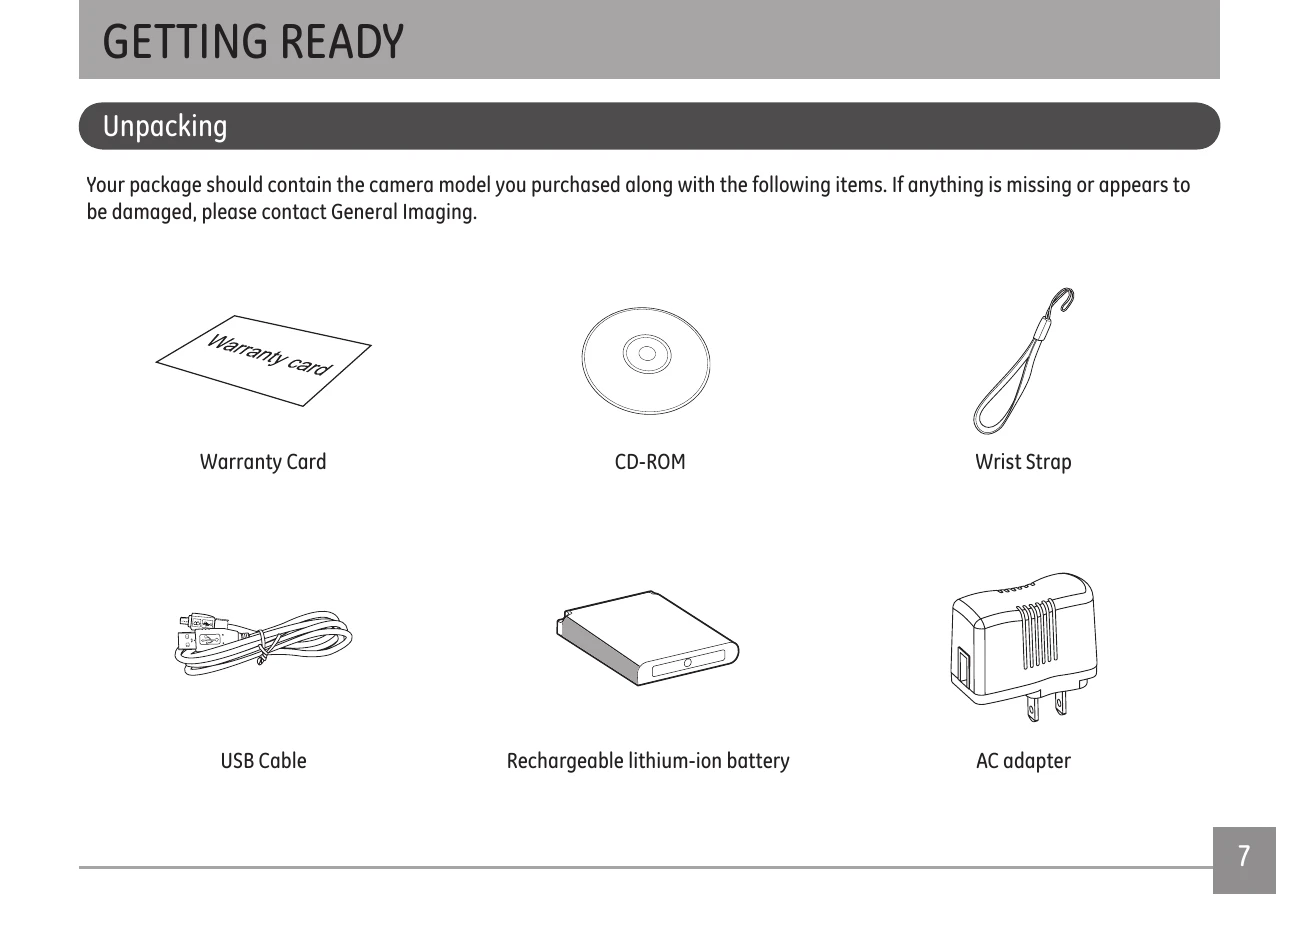
Unpack your camera and verify all items are present: Warranty Card, CD-ROM, Wrist Strap, USB Cable, Rechargeable lithium-ion battery, and AC adapter.
Familiarize yourself with the camera's layout, identifying the front, back, right, top, bottom, and left views, along with numbered components like the Flash, Lens, LCD Screen, buttons, and ports.
Ensure the camera is "off" before inserting the battery. Connect the camera to the power adapter using the USB cable and plug the adapter into a power socket. The indicator light shows charging status: red for not fully charged, green for fully charged. Charge indoors between 0°C and 35°C. For optimal battery life, charge for at least four hours, especially for the first use.
Open the battery compartment. Insert the battery, ensuring correct polarity. Press down the stopper to lock it. Insert the SD/SDHC/SDXC card into its slot. Close the compartment.
Press the Power button to turn the camera on or off. The camera defaults to the last used shooting mode.
Upon first use, a setup page for language and date/time appears. Alternatively, access the General Setup menu via the Power button and menu options to set the display language and date/time.
| Problem | Possible causes | Solution |
|---|---|---|
| Camera does not turn on. | The battery has run out. The battery is not inserted correctly. |
Replace with a fully charged battery. |
| Camera turns off suddenly during operation. | The battery has run out. | Replace with a fully charged battery. |
| The picture is blurred. | The lens is dirty. appears when taking pictures. |
Use a soft cloth to clean the lens on your camera. Use the Image Stabilization mode. |
| Images and video files cannot be saved. | The memory card is full. | Replace the memory card with a new one. Delete unwanted images. Unlock the memory card. |
| No picture is taken when pressing the Shutter button. | The memory card is full. No available space to store the files. The mode dial is in Playback mode. |
Replace the memory card with a new one or format the current memory card. Delete unwanted images. The memory card is locked. |
| Images cannot print from the connected printer. | The camera is not connected to the printer correctly. The printer is not PictBridge compatible. The printer is out of paper or out of ink. The paper is jammed. |
Check the connection between the camera and printer. Use a PictBridge compatible printer. Load some paper in the printer. Replace the ink cartridge in the printer. Remove the jammed paper. |
| Write to memory card slowly | When movie above HD is recorded into the memory card below Class 4, perhaps it is too slow to continue recording. | Please select HCSD or shoot after formatting this card. |
| Cannot write to the memory card | Memory card is in write-protection state. When shooting or recording, write-protection interruption phenomenon in the memory card (such as due to too slow storage etc.) leads that you can not continue to shoot or record. . |
Please replace a memory card. Please shoot again. |
| Too many movies to process | The number of pictures or binders in the memory card exceeded the specifications, so the playback of data folder can not be displayed. | Delete needless files. Transfer the files in the memory card to other area. |