Brand: GE
Category: Digital Camera
Document Type: Manual
Language: EN
Brand: GE
Category: Digital Camera
Document Type: Manual
Language: EN
Uploaded: Nov. 21, 2025, 7:03 p.m.
Manual Publish Date: 2012-01-01
None
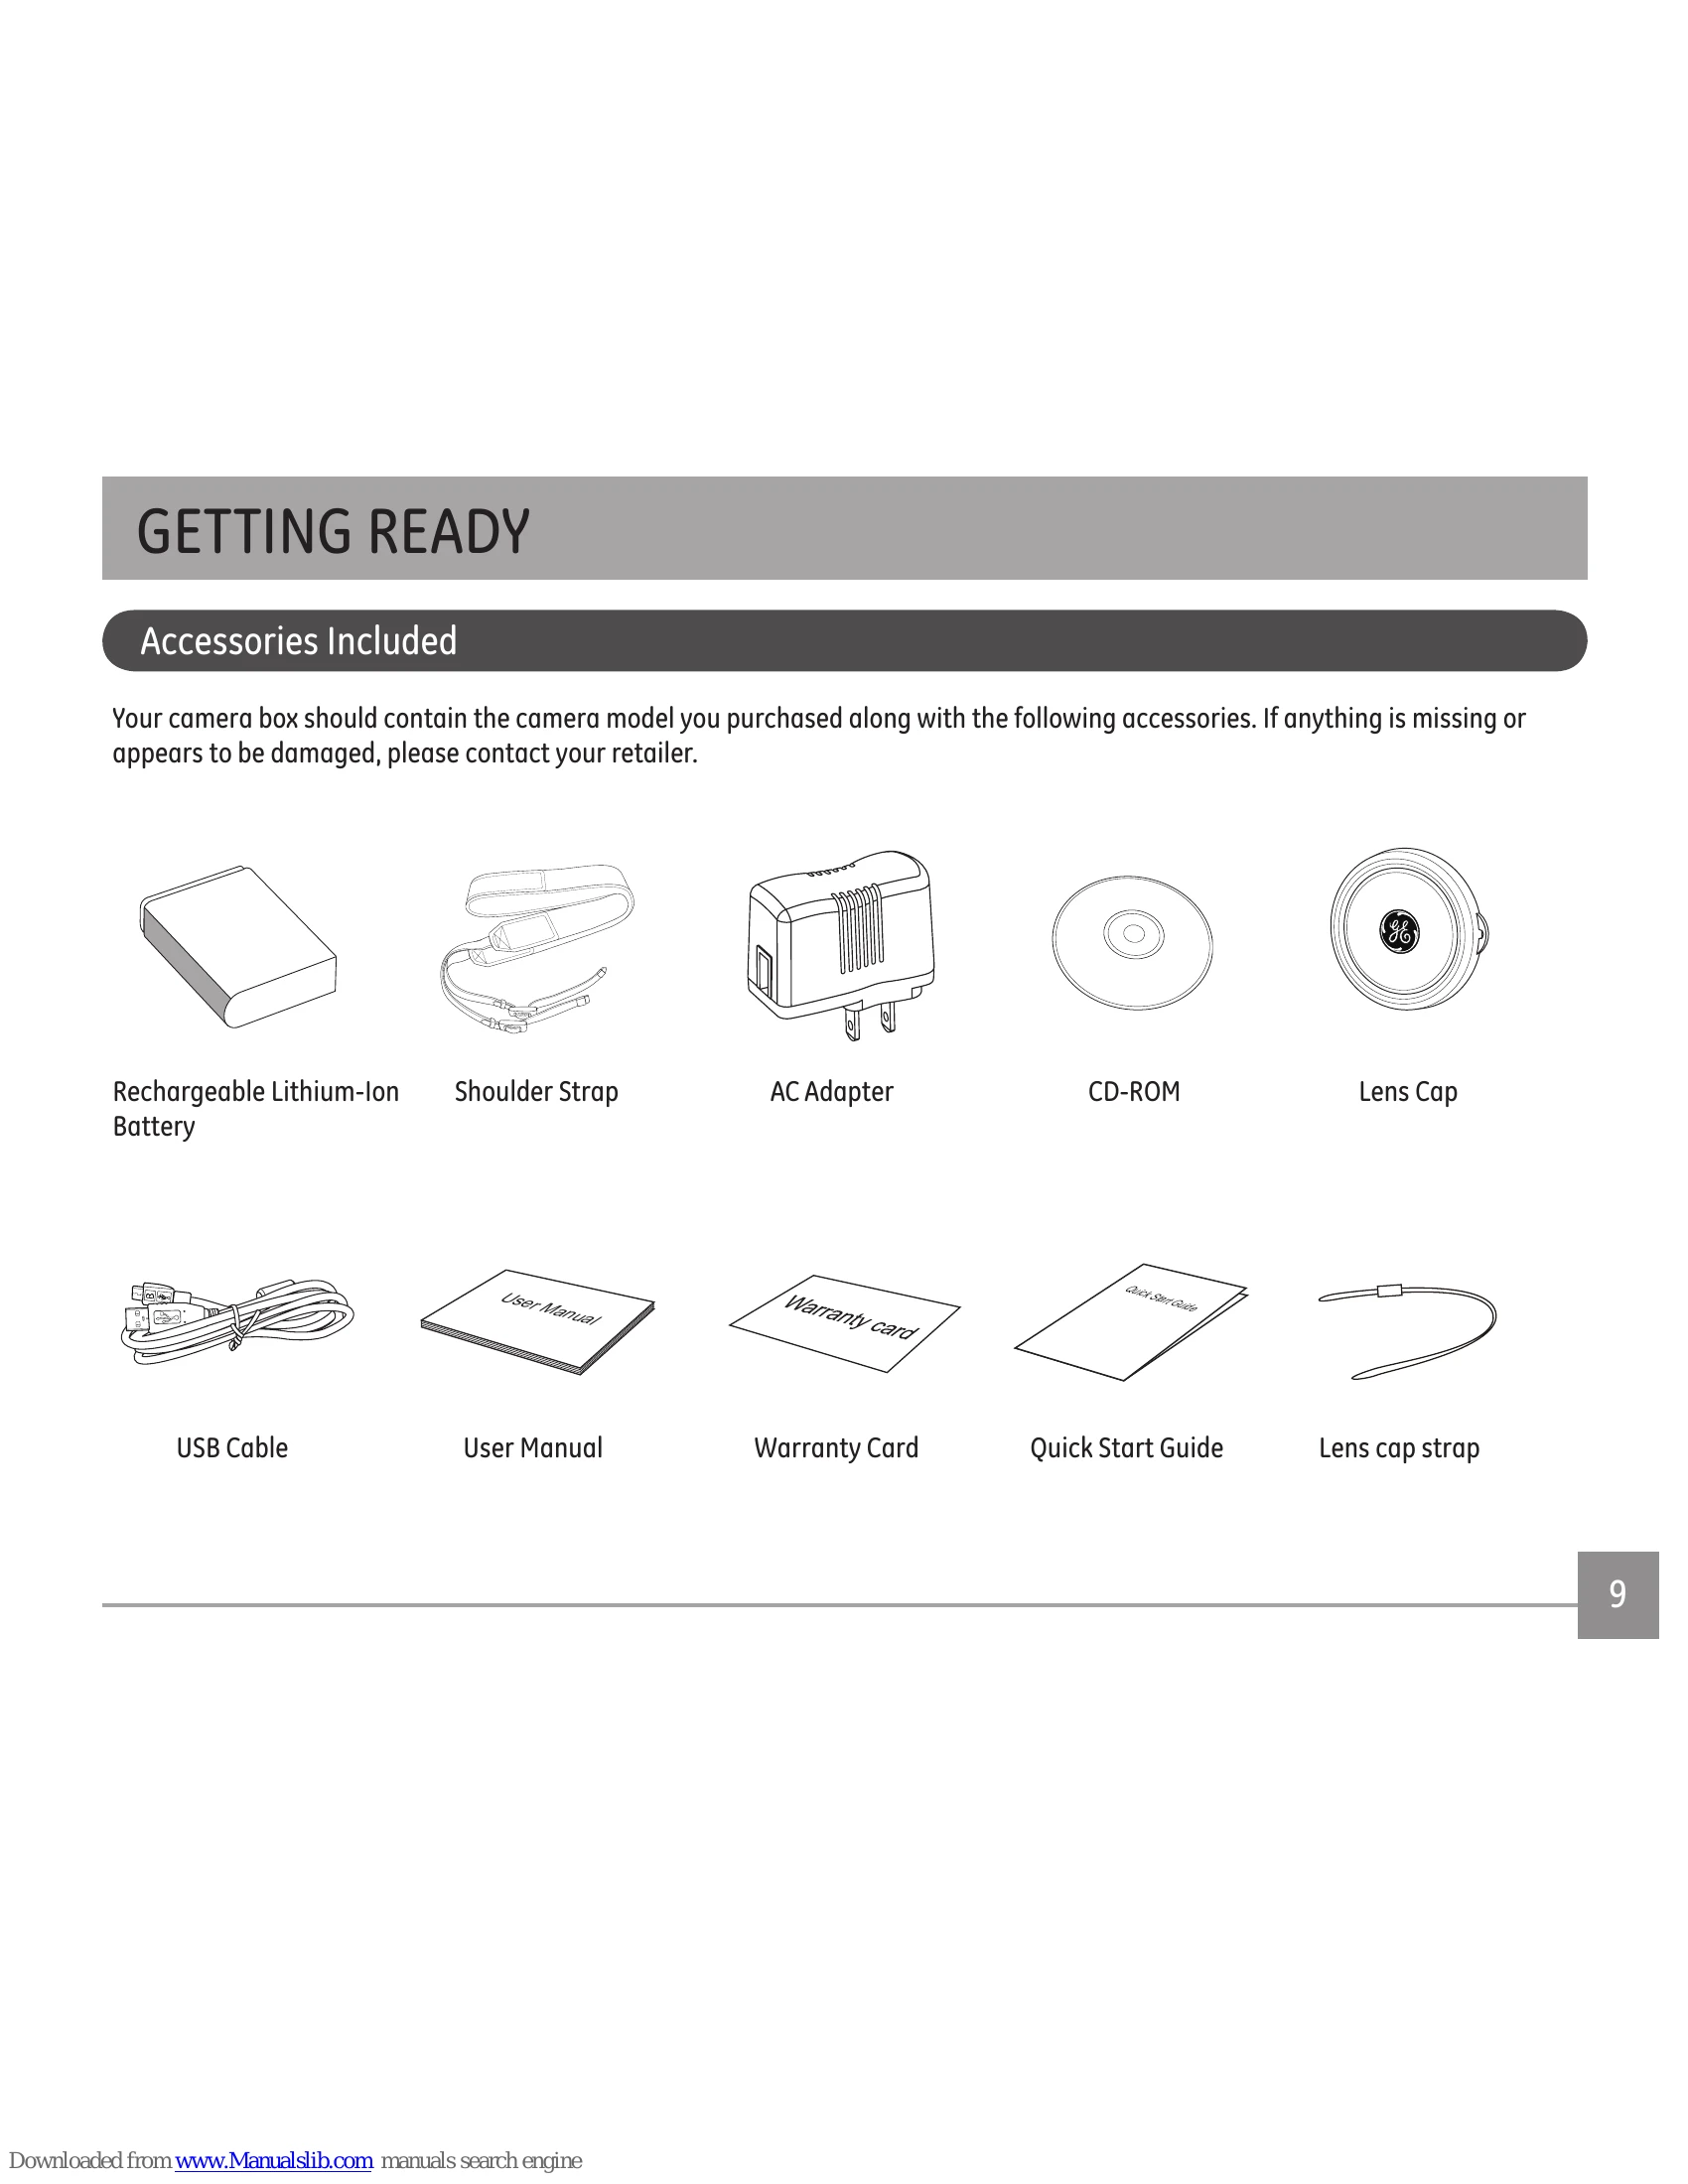
Your camera box should contain the camera model you purchased along with the following accessories. If anything is missing or appears to be damaged, please contact your retailer.


| Number | Part Name |
|---|---|
| 1 | AF Assist Beam/Timer Indicator |
| 2 | Flash Lamp |
| 3 | Microphone |
| 4 | Lens |
| 5 | LCD Screen |
| 6 | Electronic View Finder (EVF) |
| 7 | Electronic Viewfinding Window/ LCD Screen Button |
| 8 | Exposure Compensation Button |
| 9 | Status Indicator |
| 10 | i Button |
| 11 | Menu Button |
| 12 | Display Button |
| 13 | Playback Button |
| 14 | AF Button/Arrow Button (Up) |
| 15 | Flash Button/Arrow Button (Right) |
| 16 | Delete Button/Self-Timer Button/ Arrow Button (Down) |
| 17 | Macro Button/Arrow Button (Left) |
| 18 | SET Button |
| 19 | Strap Buckle |
| 20 | USB Port |
| 21 | HDMI Port |
| 22 | Zoom Wheel |
| 23 | Shutter Button |
| 24 | Continuous Capture Button |
| 25 | Fast Video Recording Button |
| 26 | Power Switch |
| 27 | Mode Dial |
| 28 | Flash Button |
| 29 | Speaker |
| 30 | Tripod Receptacle |
| 31 | Battery Cover |
Before you charge your battery, you should turn the camera off and insert the battery.

Charging indicator: Red: Charging, Green: Charging complete. To have maximum battery life, charge the battery for at least 4 hours the first time.
Charging the battery should only be done with the camera in the "off" position. Please charge the battery indoors between 0°C and 40°C.


The memory card (SD/SDHC) is optional and not included in all camera packaging. If you have to purchase a memory card, select one with storage capacity between 4GB and 32GB to ensure correct data storage.
To remove your memory card, open the battery cover, gently press the memory card to eject it and remove it carefully.
Turn the power switch to turn on/off the camera.

In the instructions below, the following symbols may be used throughout this manual on how to operate the camera. This is to facilitate better understanding.
[Button name]: When one button on the camera cannot be indicated by an icon, the symbol [ ] is used to indicate it.
「Item properties」: The option properties in the camera interface are indicated by the symbol 「 」.
After you set your language for the first time, follow the instructions below to reset your language.

After you set your Date/Time for the first time, follow the instructions below to reset date and time.

Press the disp button to display the settings: Classic, Full, Off. Default Mode: Displays the camera parameters on screen.

Clean: Does not display any additional icons on screen

| Problem | Possible causes | Solution |
|---|---|---|
| Camera does not turn on | The battery has been depleted. The battery is not inserted correctly. |
Recharge the battery. Correctly reinstall the battery. |
| Camera turns off suddenly during operation | The batteries have been depleted. |
Recharge the battery. |
| The picture is blurred | Carema shakes while taking a picture. |
Turn on OIS feature. |
| Images and video files cannot be saved | The SD memory card is full. The memory card is locked. |
Use another memory card or delete unnecessary files. Unlock the memory card. |
| Images will not print from the connected printer | The camera is not connected to the printer correctly. The printer is not PictBridge compatible. The printer is out of paper or ink. The printer paper is jammed. |
Check the connection between the camera and printer. Use a PictBridge compatible printer. Load paper into the printer or replace the ink cartridge in the printer. Remove the jammed paper. |
| Saving data to memory card is slow | Using a memory card below Class 4 may result in slower recording times. |
Use an SD card with write Class higher than 4 to improve performance. |
| Cannot write to the memory card | The SD memory card has been locked. The camera may experience trouble recording HD movies to SD cards with a rating lower than Class 4. |
Release the write lock of the memory card or replace with another card. Use an SD card with write Class higher than 4 to improve performance. |
| Too many movies to process | The number of pictures or folders in the SD memory card exceed the specifications, so the playback of data folder can not be displayed. |
Delete unwanted files. |