| Cassette holder cannot be opened when you press "STOP/EJECT". |
- Connect the power source.
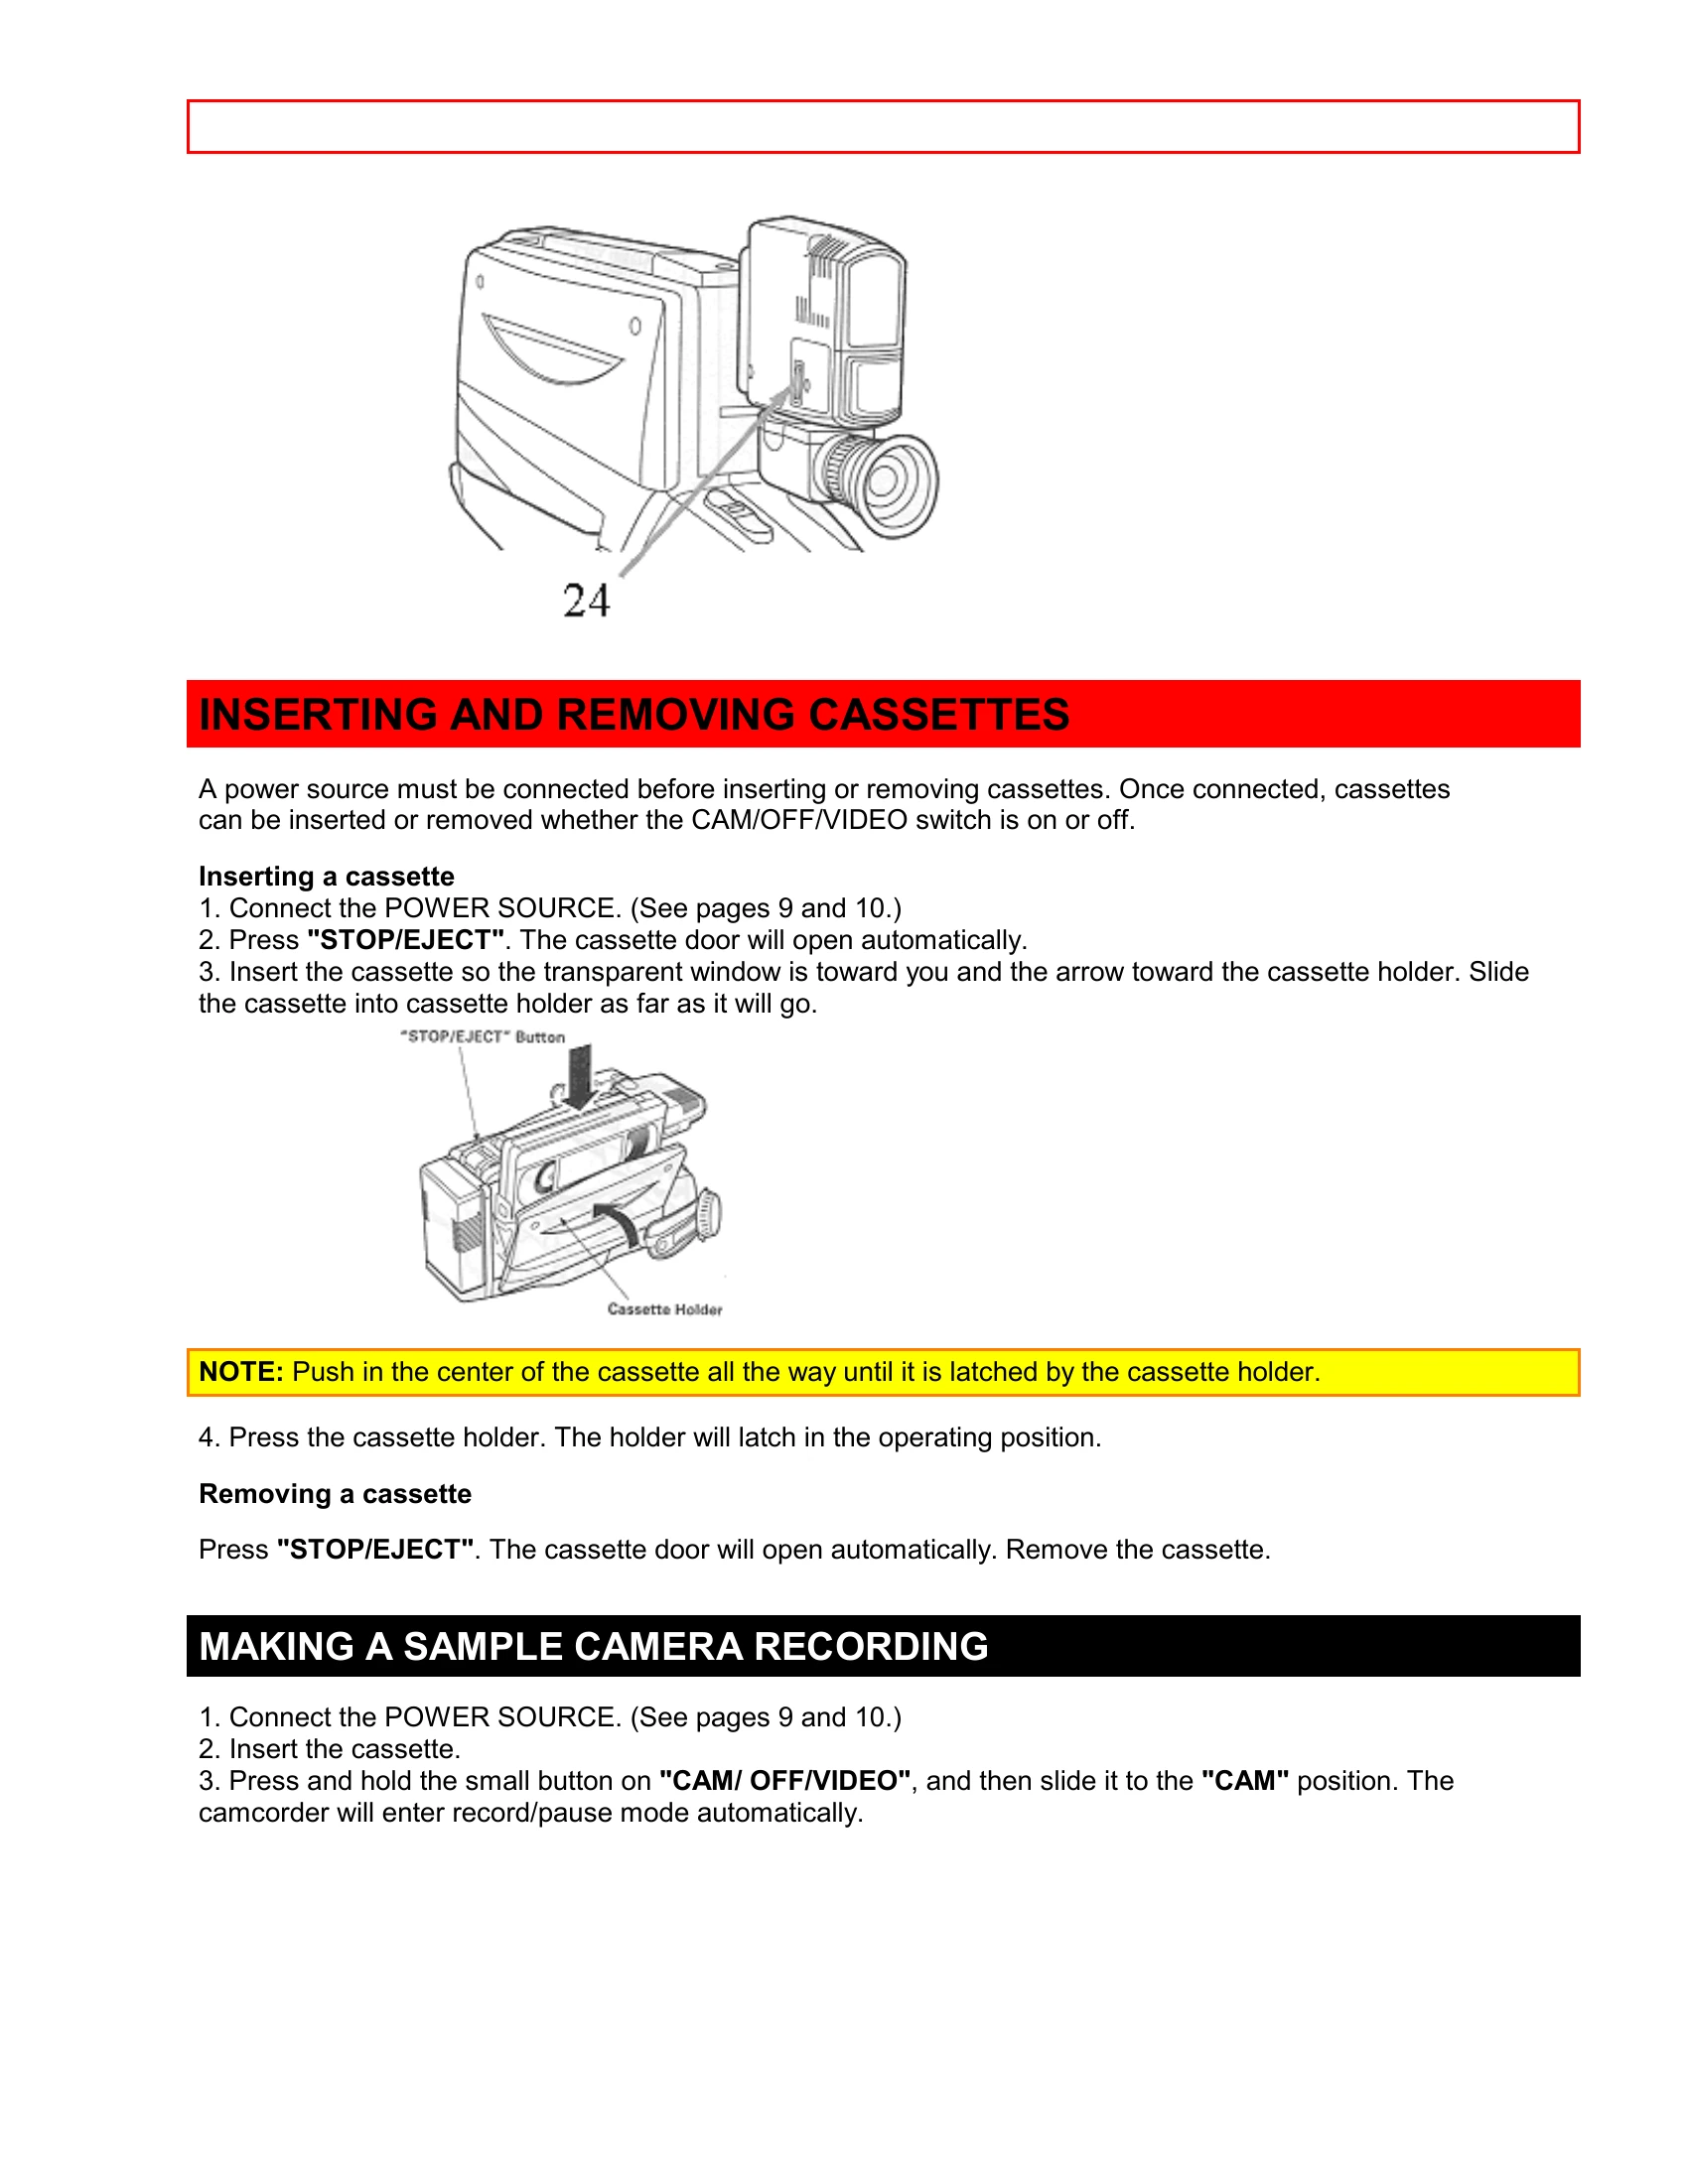
- Load cassette in direction indicated by arrow on cassette.
- Cassette window must be toward outside.
|
| Cassette cannot be inserted into cassette compartment. |
- Load cassette in direction indicated by arrow on cassette.
- Cassette window must be toward outside.
|
| Picture does not appear in the viewfinder. |
- Remove the lens cap.
- Set "CAM/OFF/VIDEO" to "CAM" position.
|
| The camcorder can not go into the recording mode, even when "REC/PAUSE" is pressed. |
- The cassette has had the erase prevention tab removed. Stick a piece of cellophane tape over the erase prevention hole or select a different cassette.
- Set "CAM/OFF/VIDEO" to "CAM" position.
- Auto-focus does not operate if the wide angle or telephoto lens is attached.
|
| Picture is out of focus. |
- Set "CAM/OFF/VIDEO" to "CAM" position.
- Auto-focus does not operate if the wide angle or telephoto lens is attached.
|
| Auto-focus does not operate. |
- Auto-focus does not operate if the wide angle or telephoto lens is attached.
|
| The " " indication in the electronic viewfinder flashes to indicate battery is discharged. |
Try another battery or charge the battery. |
| Power is not turned on and no button operations are accepted. |
- Remove the power source, and after about one minute push the reset switch gently using a toothpick, etc. until you feel a click. Since this erases the date, time and other customer preferred features, reset them again. (Behind the jack cover)
|
| "PLAY" cannot be engaged. |
- Set "CAM/OFF/VIDEO" to "VIDEO" position.
|
| No picture appears on television screen when "PLAY" is pressed. (TV is connected to the camcorder by using RF converter unit.) |
- Set the television to the camcorder channel (3 or 4) depending upon the selected channel on the RF channel select switch of RF converter unit.
|
| Interference on playback picture. |
- Adjust the tracking using "TRACKING" control (power zoom switch).
- When you see the playback picture on your TV, adjust fine tuning knob on television set to obtain best picture.
- The pre-recorded tape is EP or LP recording. This camcorder is for use in SP recording only.
- TV receiver is of older type. It needs to be modified to work properly with camcorder
- Tape is damaged. Try another cassette.
- TV set has VIR circuit. Turn it off during playback.
|
| Picture bends at the top of TV screen. |
- TV receiver is of older type. It needs to be modified to work properly with camcorder
- Tape is damaged. Try another cassette.
|
| Color of your TV screen is too bright, too faint or change. |
- TV set has VIR circuit. Turn it off during playback.
|