Brand: HITACHI
Category: Digital Camera
Document Type: Manual
Language: EN
Brand: HITACHI
Category: Digital Camera
Document Type: Manual
Language: EN
Uploaded: Nov. 21, 2025, 9:02 p.m.
| Problem | Cause | Action |
|---|---|---|
| The camera doesn't turn on. | The batteries are not set correctly. | →Set the batteries correctly P17 |
| Battery power is exhausted. | →Replace the batteries with new ones P17 | |
| Malfunction of the internal system, etc. | →Remove/disconnect the batteries/AC adapter and wait five seconds or more, set/connect the batteries/AC adapter correctly and then press the power button. | |
| The AC adapter (sold separately) is not connected correctly. | →Connect the AC adapter (sold separately) correctly P51 | |
| The batteries run out quickly. | The camera is used in extremely cold temperatures. | → |
| Images are captured at high resolutions or the flash is used frequently. | → | |
| • Battery power is exhausted. | →Replace the batteries with new ones P17 | |
| The camera turns off suddenly. | •The Power Off Time function was activated. | Turn on the power again. |
| The remaining battery power is not displayed correctly. | • Battery power is exhausted. | →Replace the batteries with new ones P17 |
| • The flash is being charged (immediately after switching to the flash mode). | →Wait until the flash is fully charged. | |
| Capturing Still Images/Videos | ||
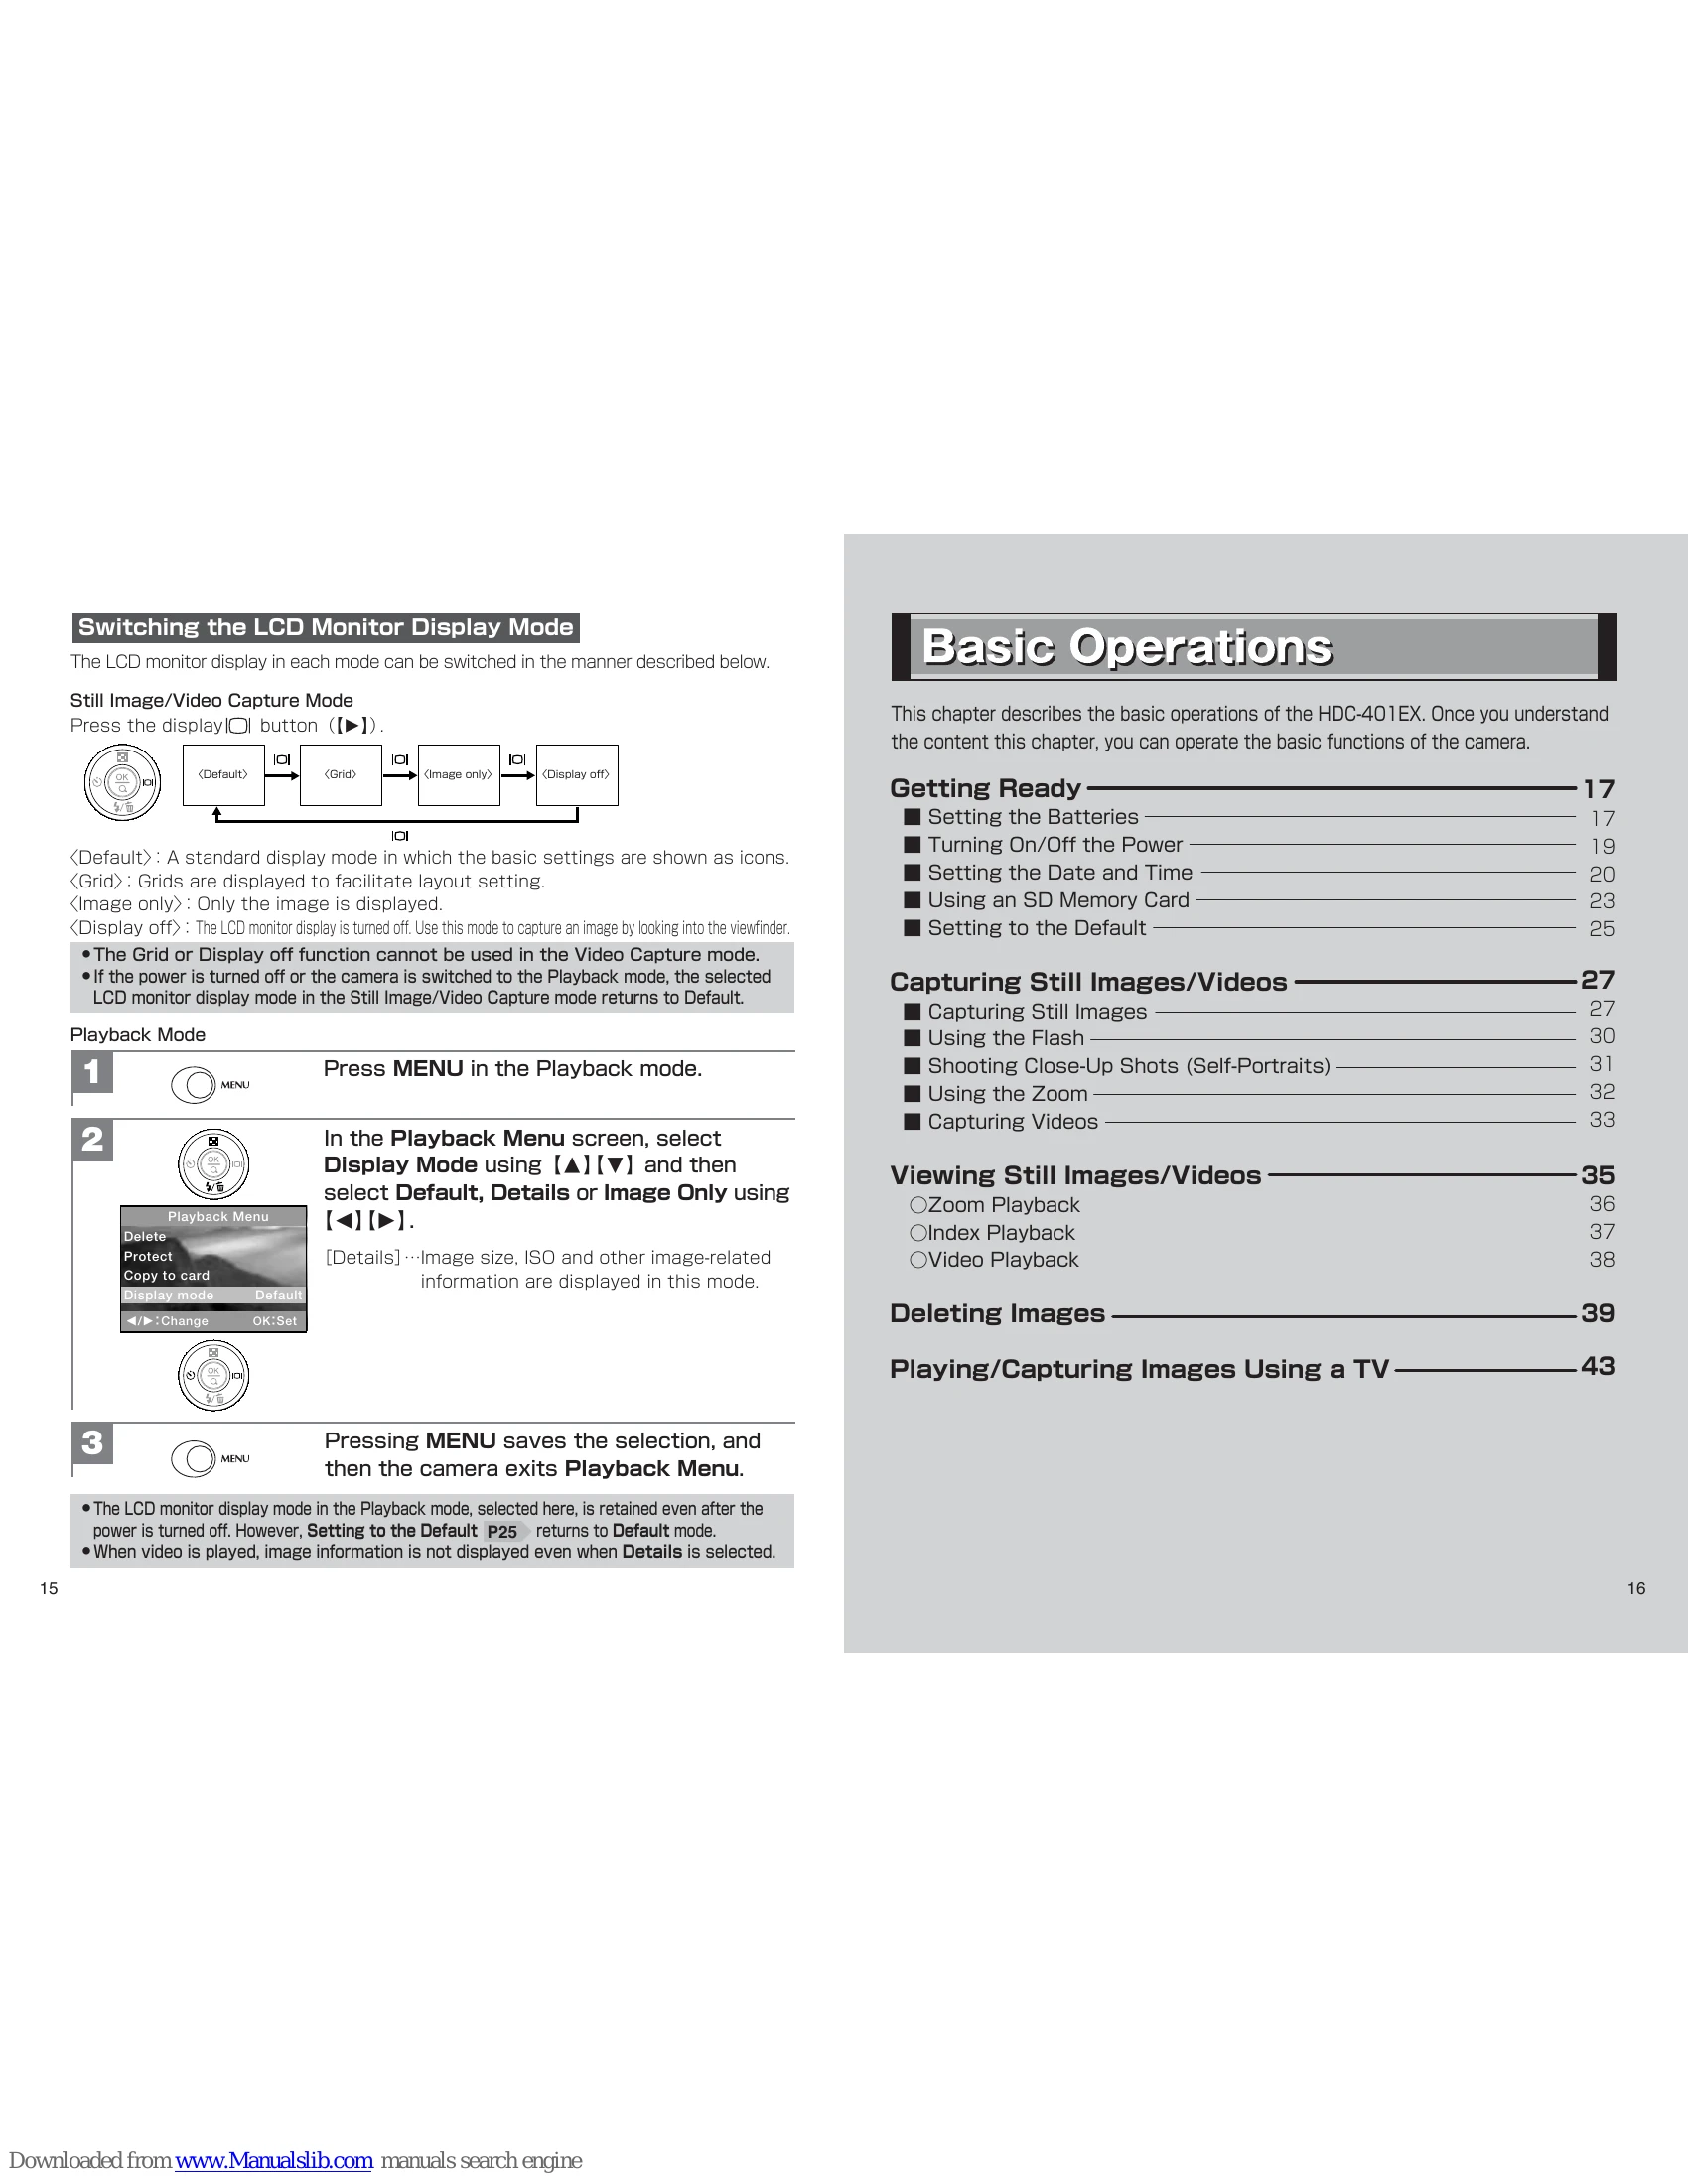
| The LCD monitor doesn't show the subjects. | The camera is in Playback mode. | →Press the MODE button to switch to Still Image Capture mode P11 |
| The LCD monitor display is set to the Display Off mode. | Press the display IOI button ([]) to switch the LCD monitor display mode P15 | |
| Image/video cannot be captured. | • The shutter button was pressed while another image was being recorded. | →Wait until the recording of the current image finishes before capturing a new image. |
| • The shutter button was pressed while the flash was charging. | →Wait until the viewfinder lamp stops blinking before capturing an image. | |
| • Still images were taken while the camera was in Playback mode or Video Capture mode. | →Press the MODE button to switch to Still Image Capture mode P11 | |
| • Videos were taken when the camera was in Still Image Capture mode or Playback mode. | In the Still Image Capture mode, press the MENU button and then select Video Capture mode P33 | |
| • The Power Off Time function was activated and the camera was turned off. | Turn on the power again. | |
| • The available memory space is low. | →Reduce the image size. →Delete images from the internal memory or the memory card P39, or swap the memory card with another P23 | |
| • The write-protect switch on the memory card is locked (the message Card Locked! is shown on the LCD monitor). | Unlock the write-protect switch on the memory card P24 | |
| The flash doesn't work. | • The flash mode is set to 4 (Suppressed Flash (default setting)). | →Set the flash mode to ☮ (Auto), ☢ (Red-Eye Reduction (Auto)), ☃ (Night Scene), or ☍ (Forced Flash) P30 |
| • The camera is in Close-Up mode. | →Switch to Standard mode and then select the flash mode again P31 | |
| The flash was used but the captured image is still dark. | • The subjects are too bright. | →Switch to the forced flash mode P30 |
| • The subjects are too far away. | →Bring the subjects within the effective flash-interlocked range (approximately 1.1 to 2.1m) P30 | |
| Captured images are blurred. | • The user's fingers are covering the lens. | →Hold the camera correctly without the fingers covering the lens. |
| • Distant scenes are captured in Close-Up mode. | →Switch to Standard mode (approximately 110 cm or longer) P31 | |
| • The subjects are too close. | →Bring the subjects within the image capture range (approximately 55 to 110 cm in Close-Up mode, or approximately 110 cm or more in Standard mode) | |