Brand: KENWOOD
Category: Refrigerator
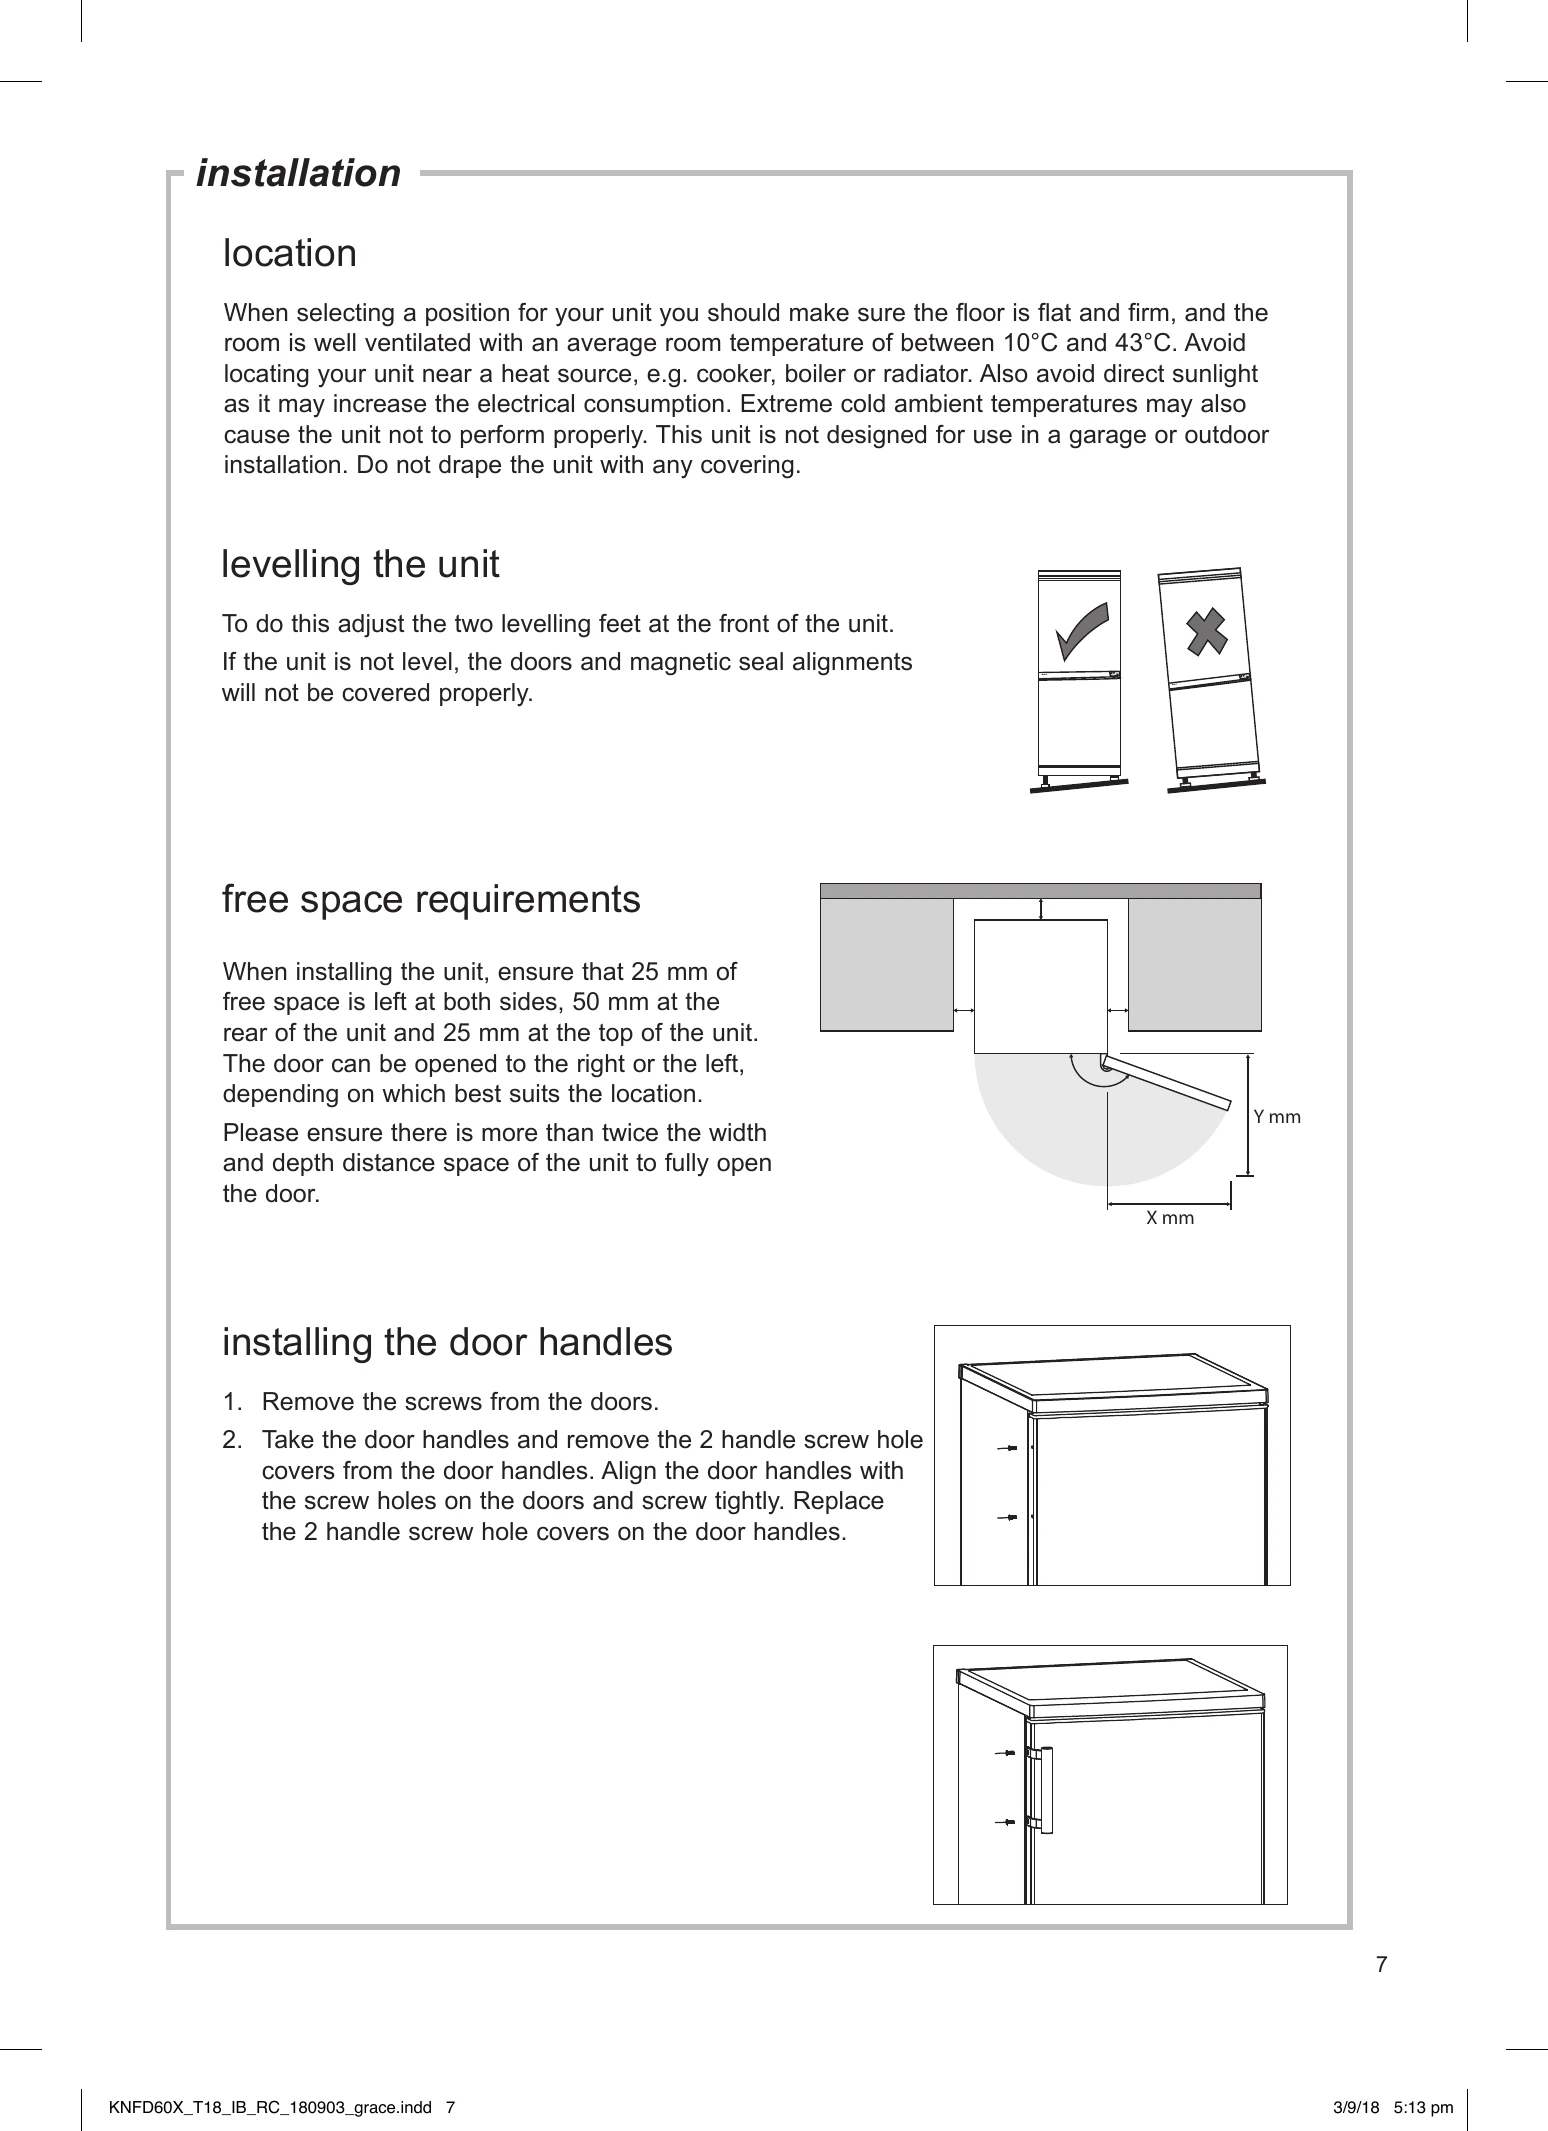
Document Type: Manual
Language: EN
Brand: KENWOOD
Category: Refrigerator
Document Type: Manual
Language: EN
Uploaded: Nov. 21, 2025, 6:06 p.m.
1. Connect the mains cable to the mains socket. Press and hold to turn the unit on or off, a sound will be heard. The internal temperature of your unit is controlled by an electronic control panel.
2. Press °C repeatedly to set temperature for the fridge compartment (2 to 8°C). For the temperature in the freezer compartment, it is set to a default temperature of -18°C and cannot be set manually.
3. The unit may not operate at the correct temperature if it is in a particularly hot or a particularly cold room, or if you open the doors often.
4. To ensure that the unit is cool enough to sufficiently chill your food, wait 24 hours before filling it with food.
5. If you are concerned that your unit is not being kept cold enough and wish to check the temperature, you will need a special fridge/freezer thermometer. These are available from most supermarkets and hardware shops. Place the thermometer in either the fridge or freezer compartment and leave overnight. The correct temperature for the fridge compartment should be at the recommended 0-8°C. The correct temperature for the freezer compartment should be -18°C or lower.
Before using the water dispenser, clean the water tank first.
! Be careful not to press on the tank valve.
Open the small tank cover. Fill drinking water into the water tank through the hole. Close the cover after filling.
You should use the type of container that can fit under the water dispenser. Place the container properly underneath and push on the lever for water to flow.
| Problem | The unit does not operate. | The unit is not plugged in or the fuse is blown. | Plug the unit in. Check the fuse and replace if necessary. |
|---|---|---|---|
| Problem | The compressor operates frequently. | The door is not closed properly or is opened too often. | Ensure the door is closed properly. Limit the frequency of door openings. |
| Problem | The unit is not cold enough. | The temperature is set too high. The door is not closed properly or is opened too often. Too much food is stored. The unit is placed too close to heat source. The unit is not ventilated. | Set the temperature to a lower setting. Ensure the door is closed properly and limit door openings. Reduce the amount of food stored. Move the unit away from heat sources. Ensure proper ventilation. |
| Problem | Frost forms in the freezer. | The door is not closed properly. The humidity is too high. | Ensure the door is closed properly. Open the door less frequently. |
| Problem | Water leakage. | The drain hole is blocked. The water tank is not correctly installed. | Clear the drain hole. Reinstall the water tank correctly. |