Brand: Lenovo
Category: Monitor
Document Type: Manual
Language: EN
Brand: Lenovo
Category: Monitor
Document Type: Manual
Language: EN
Uploaded: Nov. 21, 2025, 9:09 p.m.
Manual Publish Date: 2024-03-01
Refer to the Lenovo Statement of Limited Warranty for a full explanation of warranty terms.
Before installing, read the Safety Information. To avoid shock hazard, do not remove covers, operate without the stand attached, or connect/disconnect during electrical storms. Ensure the power cord is connected to a properly wired and grounded outlet. Isolate the monitor by removing the plug from an accessible outlet. The machine does not support 180° screen rotation.
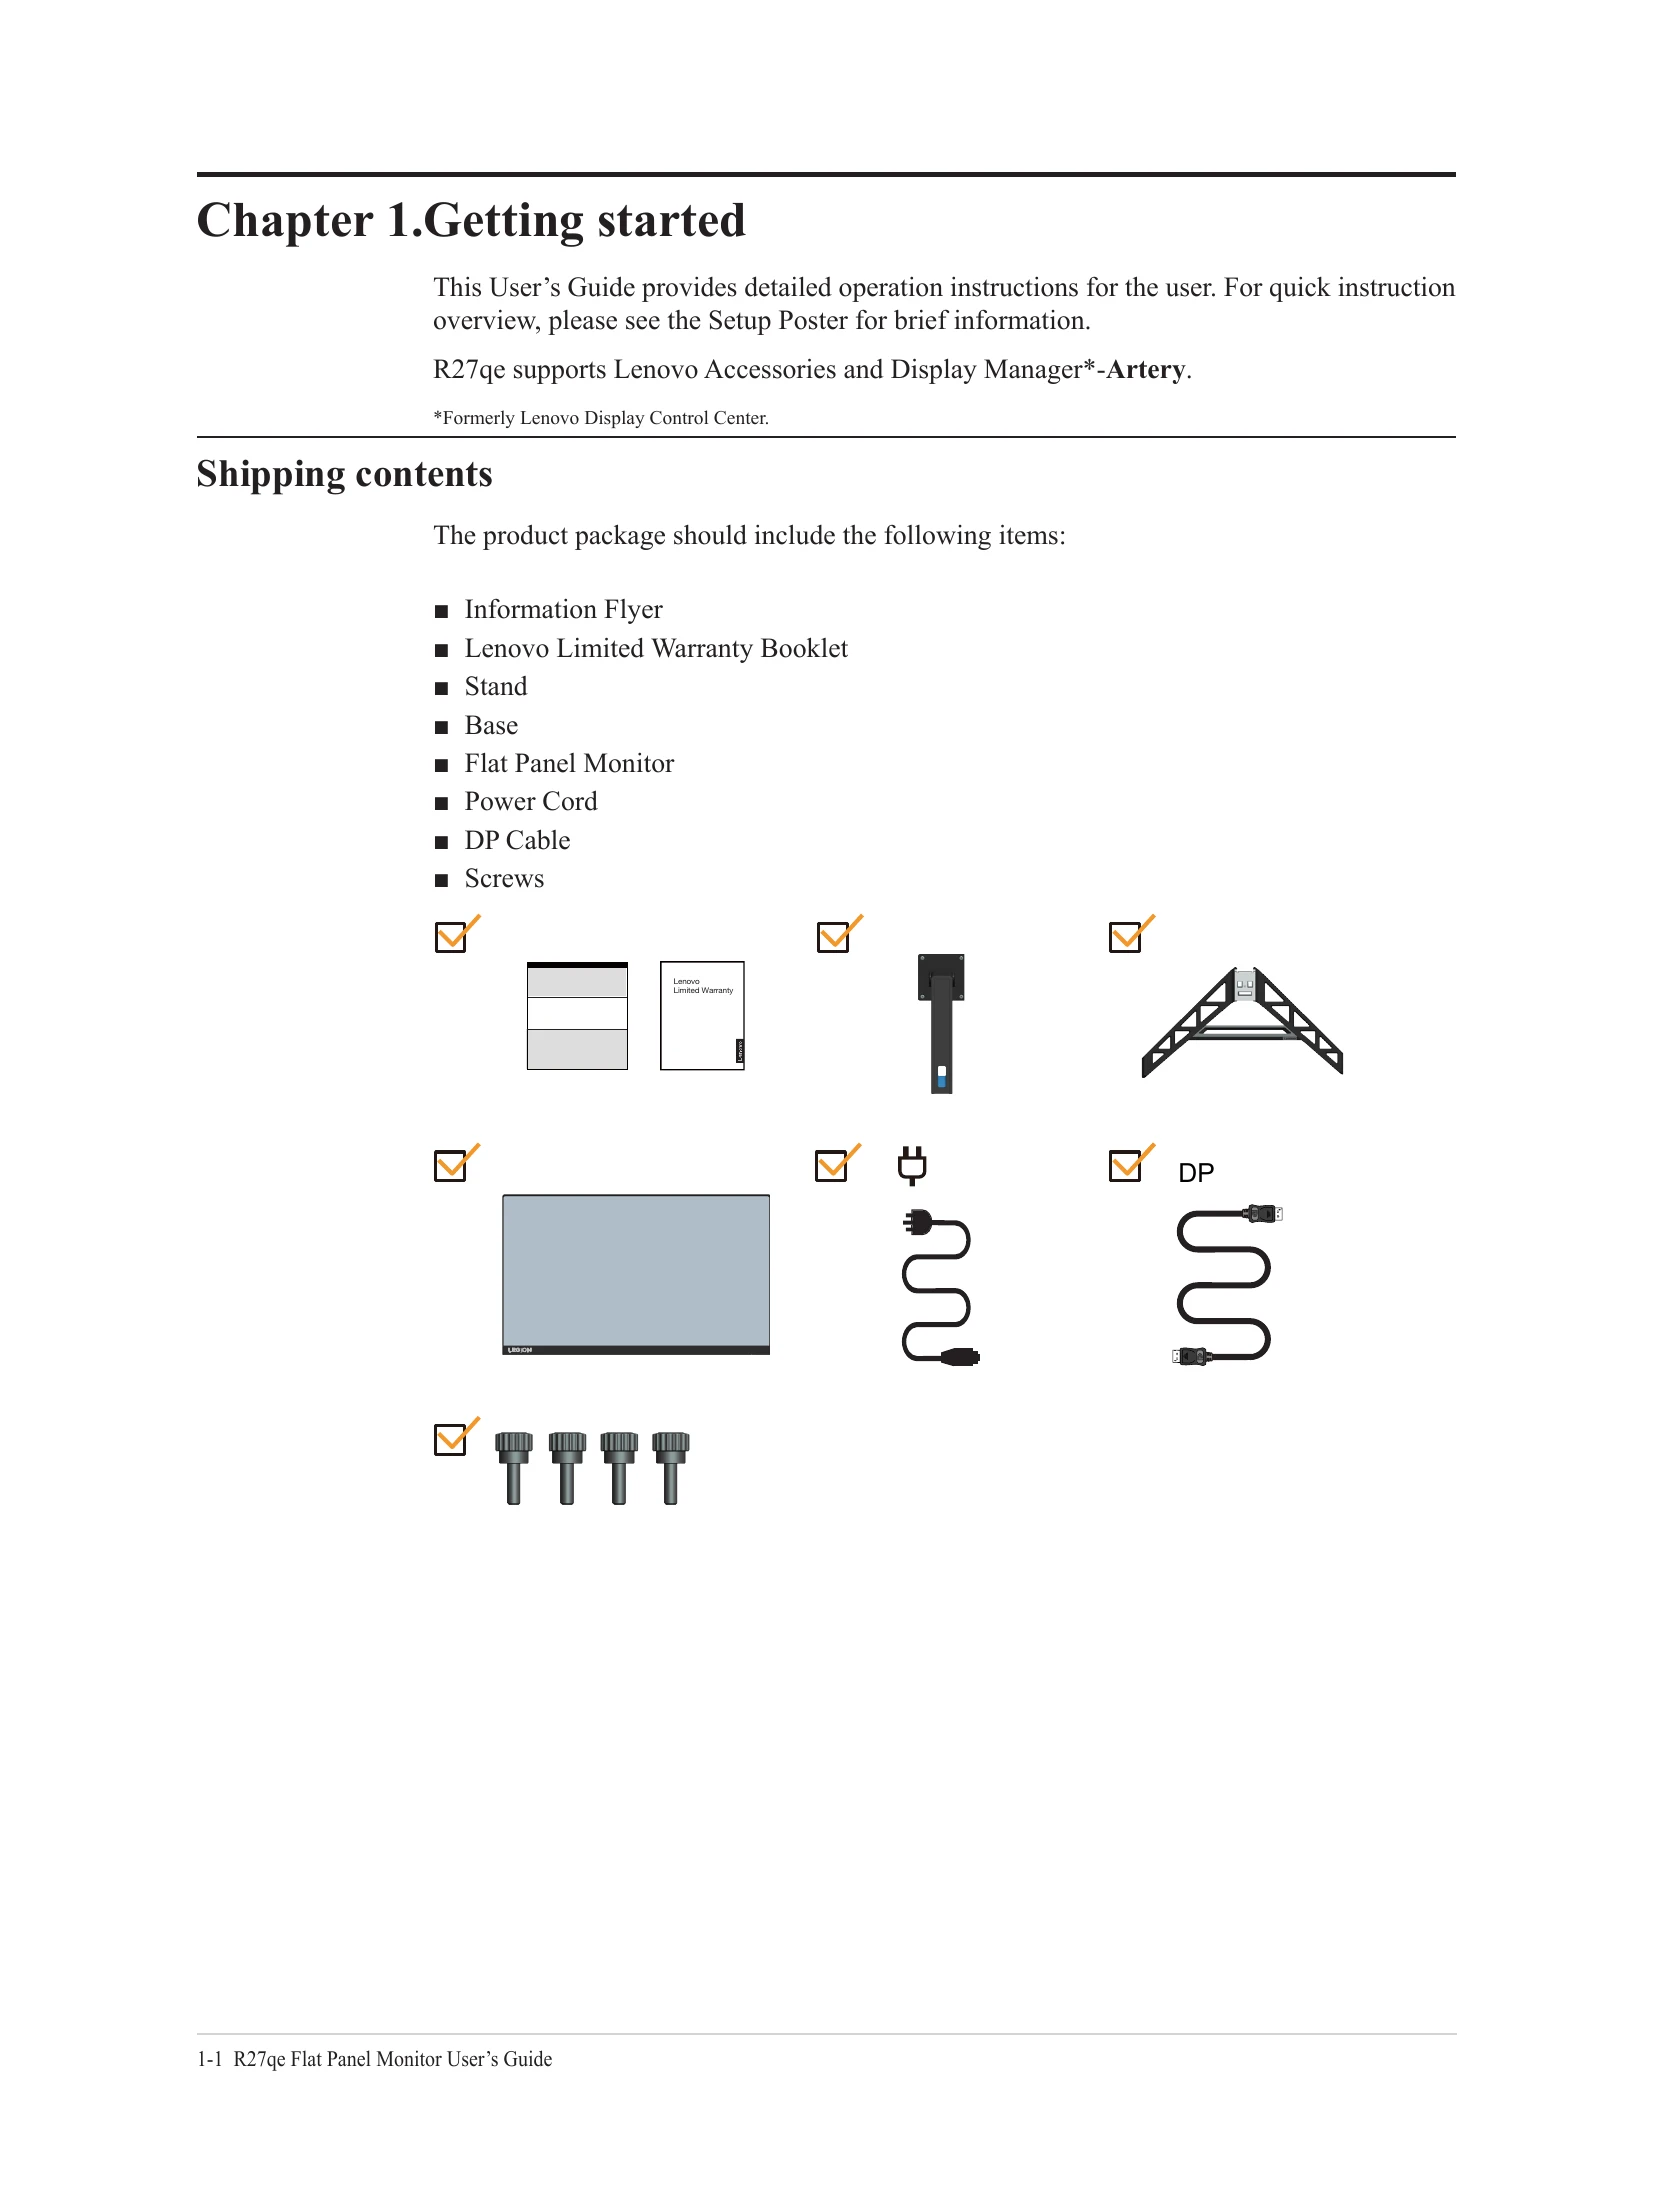
Unpack the contents: Information Flyer, Warranty Booklet, Stand, Base, Flat Panel Monitor, Power Cord, DP Cable, Screws. Follow the setup poster for quick instructions.
Connect cables as indicated by icons (DP or HDMI). Plug in the power cord and computer cord to grounded outlets. Power on the monitor and computer. Download and install the monitor driver from the Lenovo website.
Optimize your viewing experience by adjusting tilt, swivel, and height. Use the keypad controls or OSD (On-Screen Display) to adjust image settings like brightness, contrast, and color. Refer to the troubleshooting section for common issues.
Turn off power before maintenance. Do not apply liquids directly or use solvents/abrasives. Clean with a soft, damp cloth. Remove grease with a damp cloth and mild detergent.
| Problem | Possible cause | Suggested action | Reference |
|---|---|---|---|
| The words" Out of Range" are shown on the screen, and the power indicator is flashing white. | The system is set to a display mode which is not supported by the monitor | • If you are replacing an old monitor, reconnect it and adjust the display mode to within the specified range for your new monitor. • If using a Windows system, restart the system in safe mode, then select a supported display mode for your computer. • If these options do not work, contact the Customer Support Centre. |
"Selecting a supported display mode" on page 2-8 |
| The image quality is unacceptable | The video signal cable is not connected with the monitor or system completely. | Be sure the signal cable is firmly plugged into the system and monitor. | "Connecting and turning on your monitor" on page 1-5 |
| The color settings may be incorrect. | Select another color setting from the OSD menu. | "Adjusting your monitor image" on page 2-3 | |
| The power indicator is not lit and there is no image. | The automatic image setup function was not performed. | Perform automatic image setup. | "Adjusting your monitor image" on page 2-3 |
| • The monitor's power switch is not switched on. • The power cord is loose or disconnected. • There is no power at the outlet. |
• Be sure the power cord is connected properly. • Be sure the outlet has power. • Power on the monitor. • Try using another power cord. • Try using another electrical outlet. |
"Connecting and turning on your monitor" on page 1-5 | |
| Screen is blank and power indicator is amber. | The monitor is in Standby / Suspend mode | • Press any key on the keyboard or move the mouse to restore operation. • Check the Power options settings on your computer. |
"Understanding power management" on page 2-7 |
| The power indicator is amber, but there is no image | The video signal cable is loose or disconnected from the system or monitor | Be sure the video cable is connected with the system properly | "Connecting and turning on your monitor" on page 1-5 |
| The monitor brightness and contrast are at the lowest setting. | Adjust the brightness and contrast setting on the OSD menu. | "Adjusting your monitor image" on page 2-3 | |
| One or more of the pixels appear discolored | This is a characteristic of the LCD technology and is not an LCD defect | If there are more than five pixels missing, contact the Support Center | "Appendix A, Service and Support" on page A-1 |
| • Fuzzy lines in text or a blurry image • Horizontal or vertical lines through the image. |
• Image setup has not been optimized • Your system Display Properties setting have not been optimized. |
Adjust the resolution settings on your system to match the native resolution for this monitor: 2560 x 1440 at 60 Hz. Perform automatic image setup. If automatic image setup does not help, perform manual image setup. When working in the native resolution, you may find additional improvements by adjusting the Dots Per Inch (DPI) setting on your system. |
"Adjusting your monitor image" on page 2-3 "Selecting a supported display mode" on page 2-8 See the Advanced section of your system's display properties. |