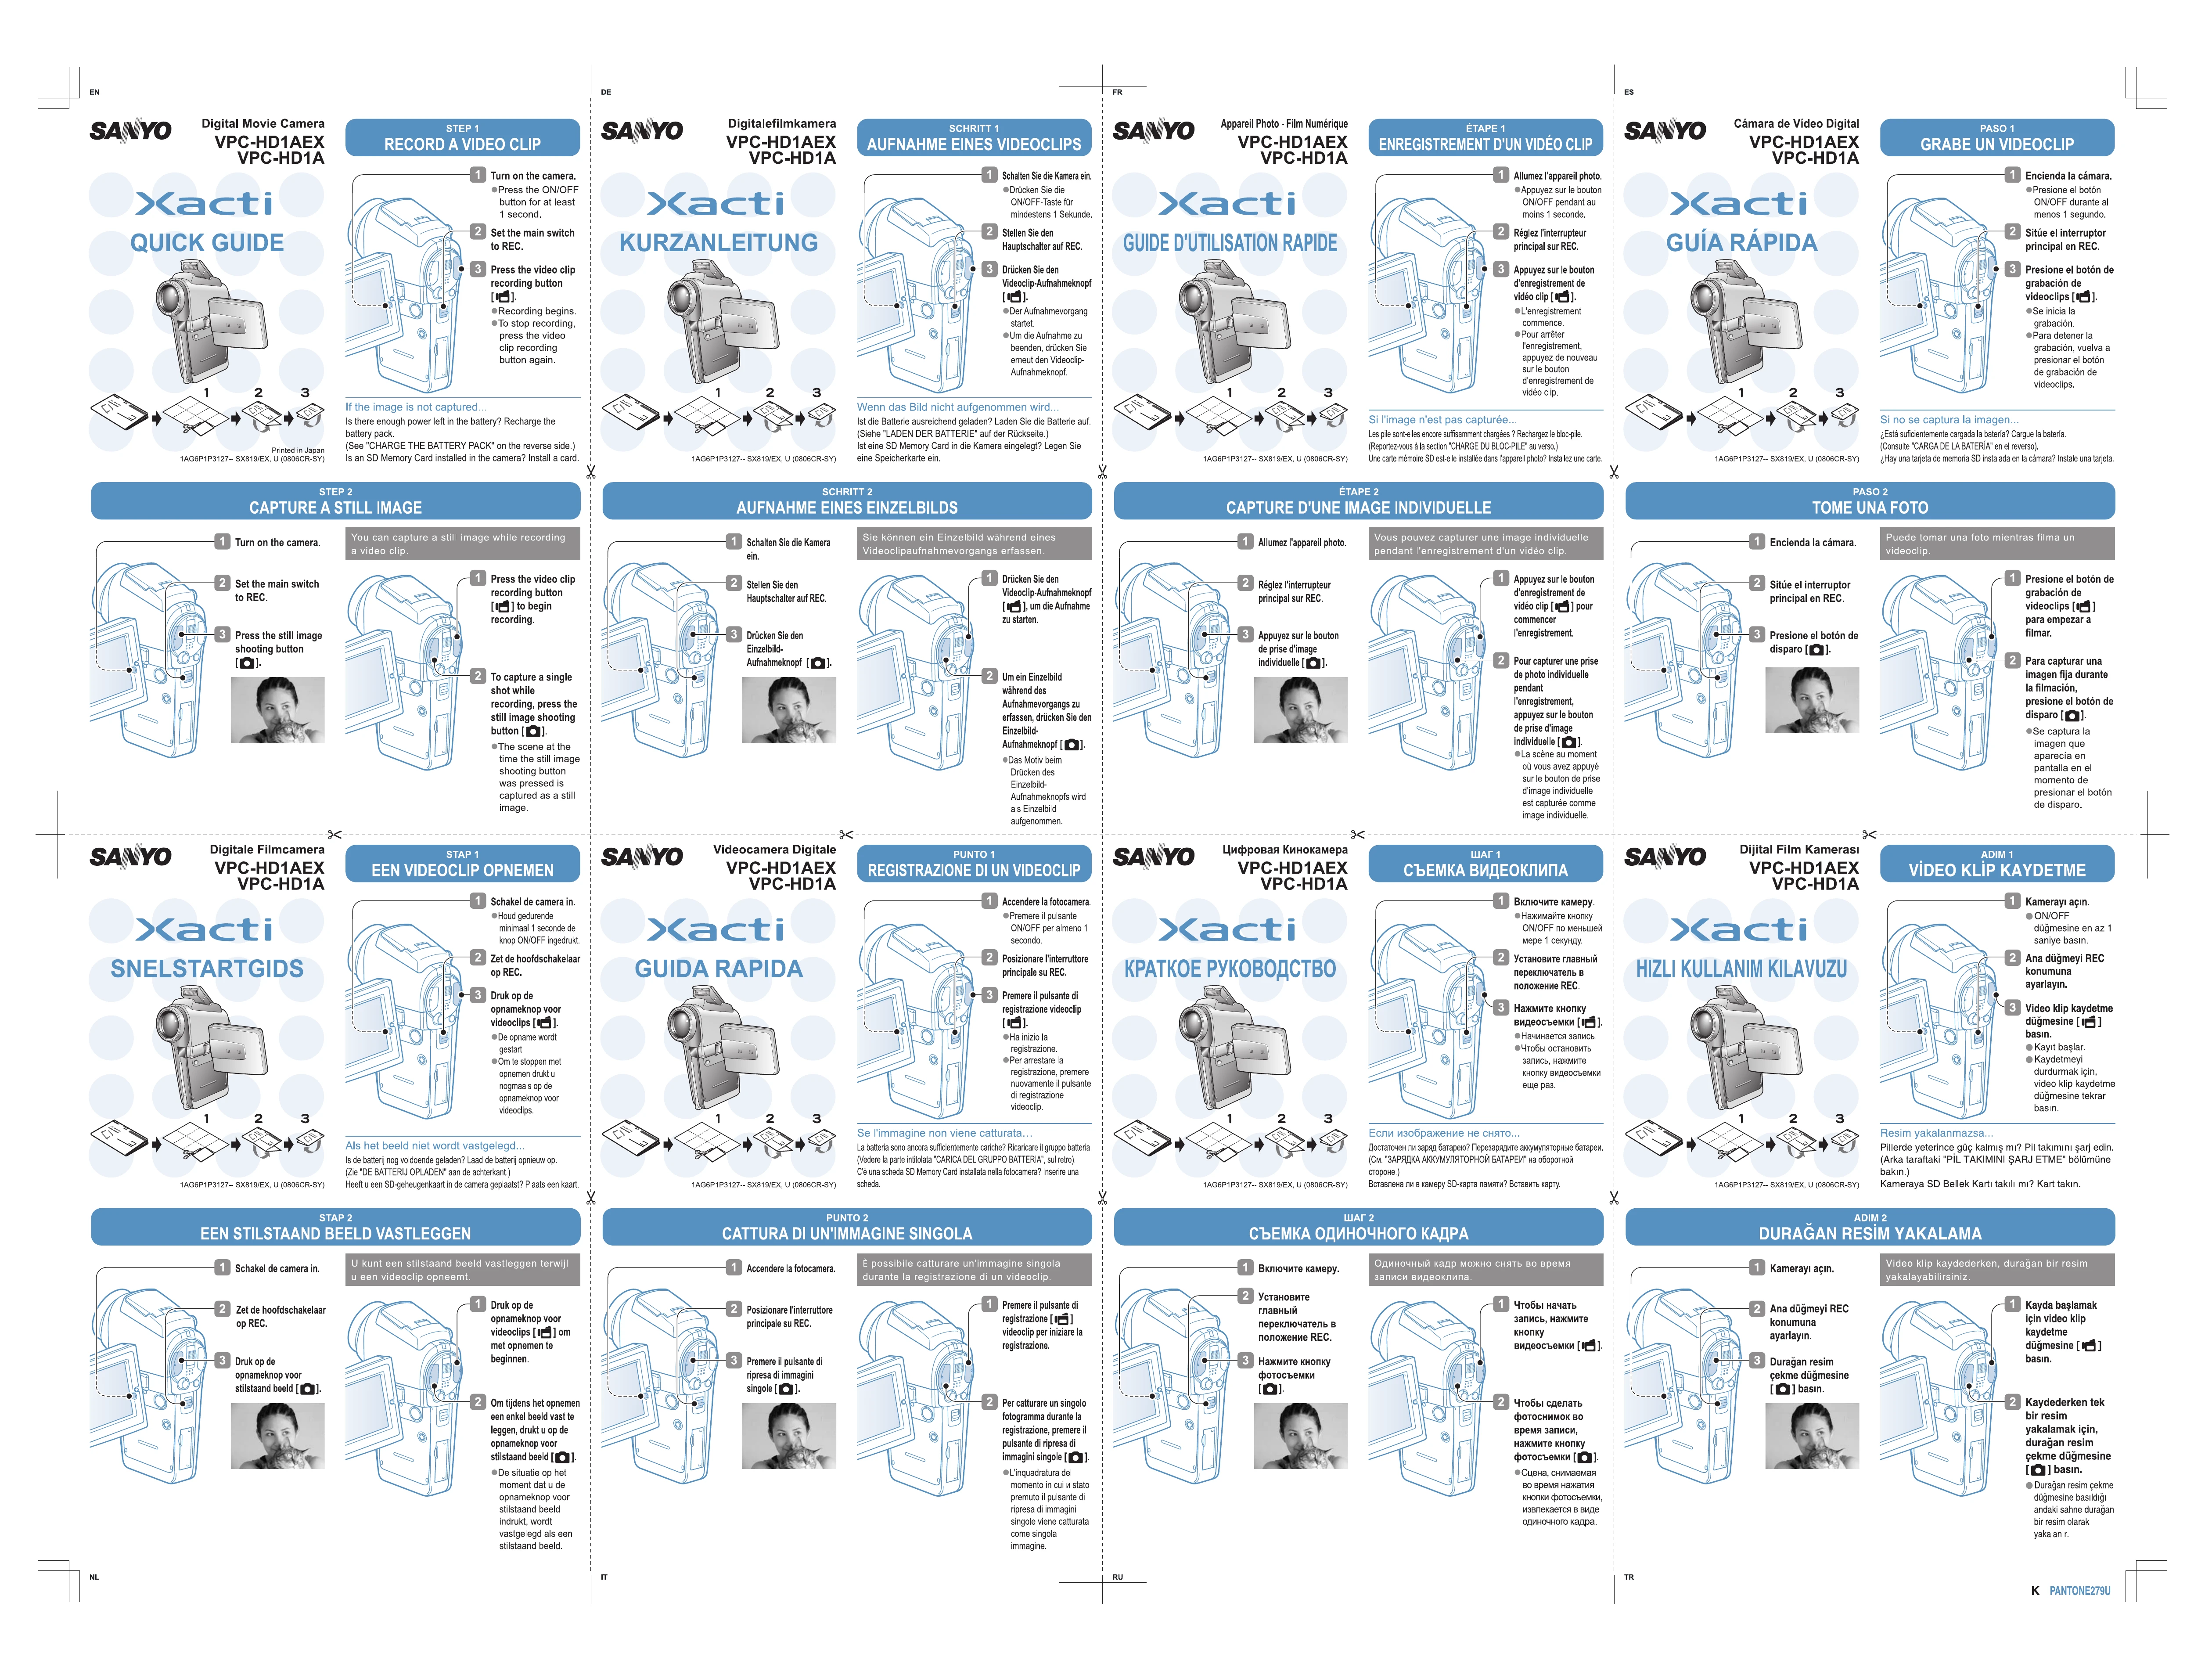
STEP 1: RECORD A VIDEO CLIP- Turn on the camera by pressing the ON/OFF button for at least 1 second.
- Set the main switch to REC.
- Press the video clip recording button to begin recording. Press again to stop.
If the image is not captured, check battery power and SD card installation.
STEP 2: CAPTURE A STILL IMAGE- Turn on the camera and set the main switch to REC.
- While recording a video, press the still image shooting button to capture a still image.
STEP 3: VIEWING IMAGES- Set the main switch to PLAY to display the last recorded image.
- Toggle the SET button left for previous images and right for next images.
- Press the SET button to begin playback of video clips, and toggle the SET button down to stop playback.
STEP 4: ERASING IMAGES- Display the image to be erased.
- Toggle the SET button up to bring up the Confirm Erase Screen.
- Select "YES" and press the SET button to erase the image.
CHARGE THE BATTERY PACK: Connect the supplied AC adaptor to charge the battery pack in the camera. The multi-indicator shows charging status. Charging time is approx. 90 minutes.
CAMERA SHORTCUTS: Access functions like adjusting monitor brightness, exposure, focus, and image properties using button shortcuts as described in the manual.