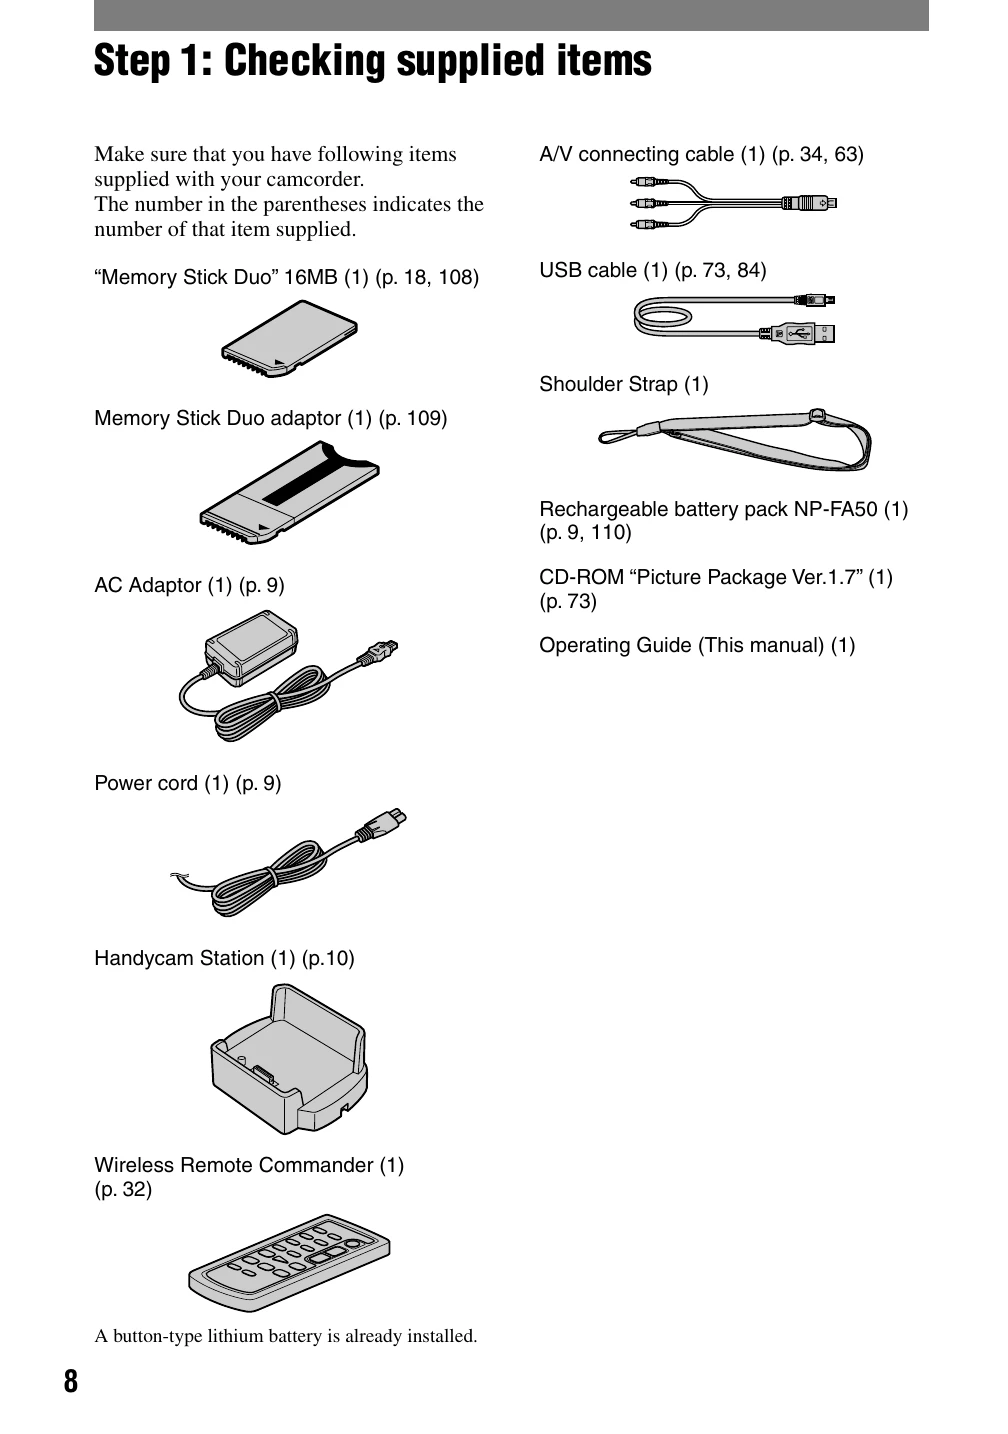
Step 1: Checking supplied items: Ensure all items listed in the manual are present.
Step 2: Charging the battery pack: Connect the AC adaptor to the camcorder or Handycam Station to charge the battery.
Step 3: Turning the power on and holding your camcorder firmly: Slide the POWER switch to the desired mode (CAMERA-TAPE, CAMERA-MEMORY, PLAY/EDIT) and hold the camcorder securely using the strap.
Step 4: Adjusting the LCD panel and viewfinder: Open and rotate the LCD panel for optimal viewing. Adjust viewfinder clarity with the lens adjustment lever.
Step 5: Using the touch panel: Navigate menus and settings by touching the LCD screen. Use the DISP GUIDE for indicator explanations.
Step 6: Setting the date and time: Set the date and time via the CLOCK SET menu for accurate recording information.
Step 7: Inserting a tape or a "Memory Stick Duo": Insert a mini DV cassette or Memory Stick Duo into the designated slots.
Step 8: Selecting the aspect ratio (16:9 or 4:3): Choose the desired aspect ratio for recording movies or still images.
Recording/Playback with ease (Easy Handycam):
Slide the POWER switch to select a recording medium.
Press EASY to activate Easy Handycam mode for simplified operation.
Press REC START/STOP to record movies or PHOTO to capture still images.
Play back movies by touching the playback controls on the screen.
Press EASY again to cancel the mode and return to normal operation.