Brand: SONY
Category: Camcorder
Document Type: Manual
Language: EN
Brand: SONY
Category: Camcorder
Document Type: Manual
Language: EN
Uploaded: Aug. 10, 2025, 12:25 a.m.
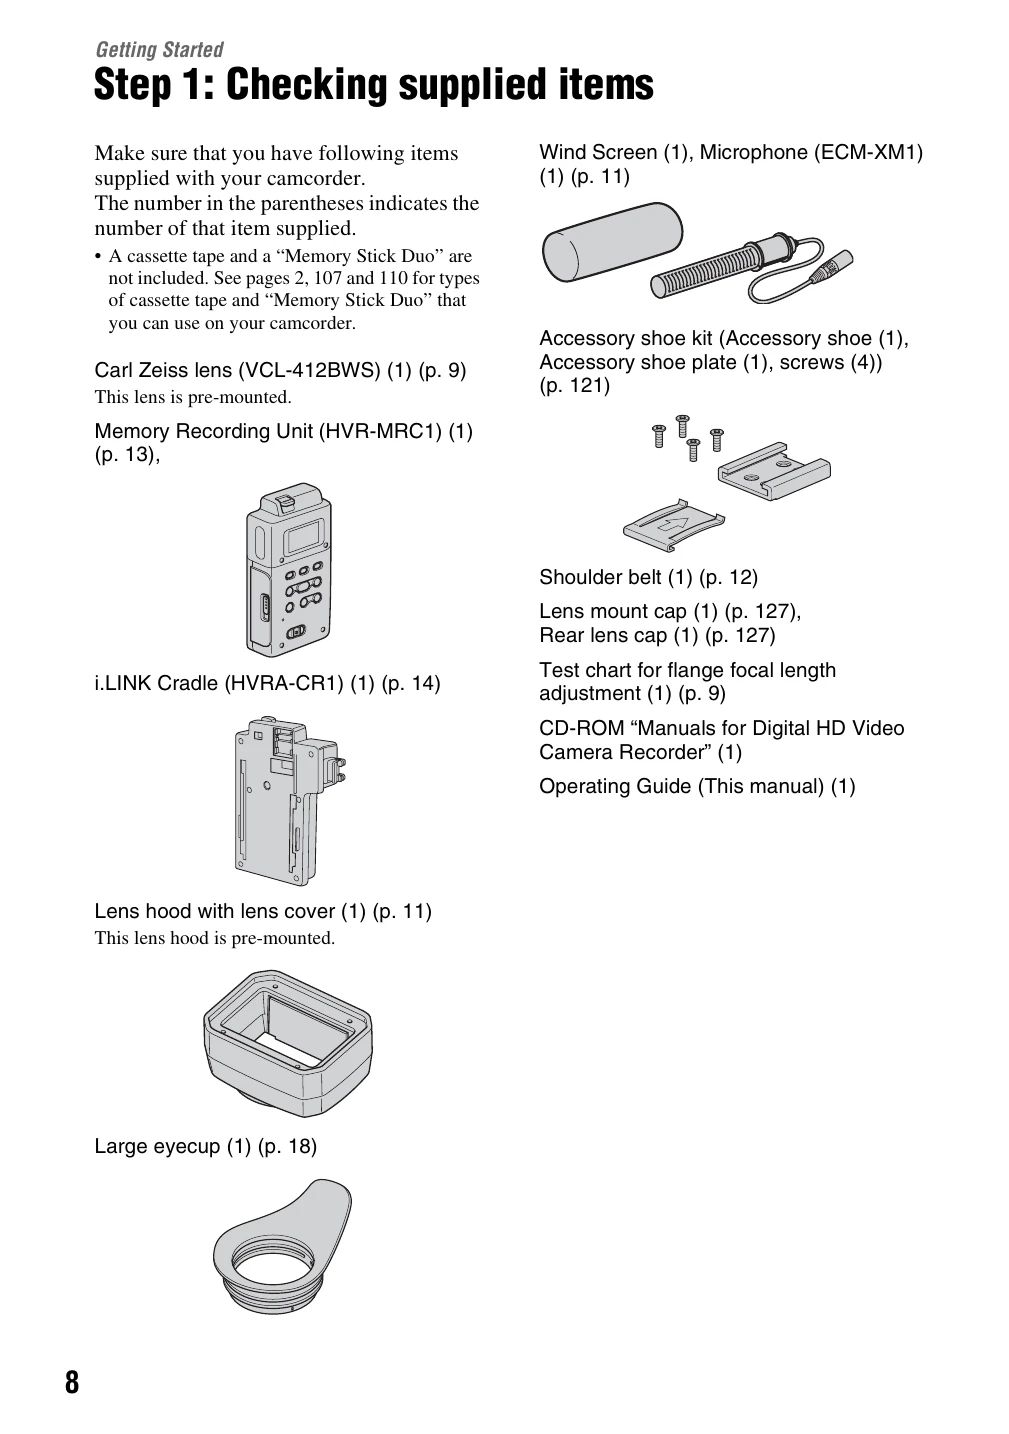
Step 1: Checking supplied items: Verify all included accessories are present.
Step 2: Attaching the supplied items: Includes mounting lenses (Carl Zeiss and non-Carl Zeiss), attaching the microphone, lens hood, and shoulder strap. It also covers attaching the Memory Recording Unit to the i.LINK Cradle.
Step 3: Preparing a power supply: Details using battery packs (BP-GL65, GL95, L60S, L80S) and AC adaptors (AC-550, AC-DN10) for power.
Step 4: Turning the power on and holding your camcorder properly: Instructions on powering the device, setting the CAMERA/VCR switch, and holding the camcorder correctly.
Step 5: Adjusting the viewfinder and LCD panel: Covers attaching the eyecup, adjusting viewfinder position and focus, and adjusting LCD panel brightness.
Step 6: Setting the date and time: Guide to setting the internal clock, essential for accurate recording data.
Step 7: Inserting a tape or a “Memory Stick Duo”: Instructions for loading cassette tapes and inserting Memory Stick Duo media.
| Indicator | Meaning | Reference Page |
|---|---|---|
| Warning (106) | Warning messages | 106 |
| HISTOGRAM | HISTOGRAM | 76 |
| CAM LEVELING | CAM LEVELING | 78 |
| 2CH 4CH | HDV 2CH/4CH | 74** |
| 32k 48k | DV AU.MODE (DV Audio mode) | 74* |
| ♫ | Manual volume control | 45 |
| ⌛ | Manual focus | 30 |
| ⌛ | Picture profile | 36 |
| ☁ | SPOTLIGHT | 69 |
| ☁ | BACK LIGHT | 69 |
| ☼☽ | SteadyShot off | 69 |
| ☼☽ | PEAKING | 31, 77 |
| ☼☽ | D.EXTENDER | 70 |
| ☼☽ | AE SHIFT | 68 |
| ☼☽ | Auto setting | 78 |
| ☼☽ | White balance | 34 |
| ☼☽ | FOCUS MACRO | 70 |
| ☼☽ | HYPER GAIN | 67 |
| ☼☽ | x.v.Color | 72** |
| ☼☽ | ZEBRA | 76 |