Manual for T100

Manual for T100

Brand: TOSHIBA

Category: Laptop

Document Type: Manual

Language: EN

Uploaded: Nov. 21, 2025, 8:10 p.m.

Manual Publish Date: 1982-01-01
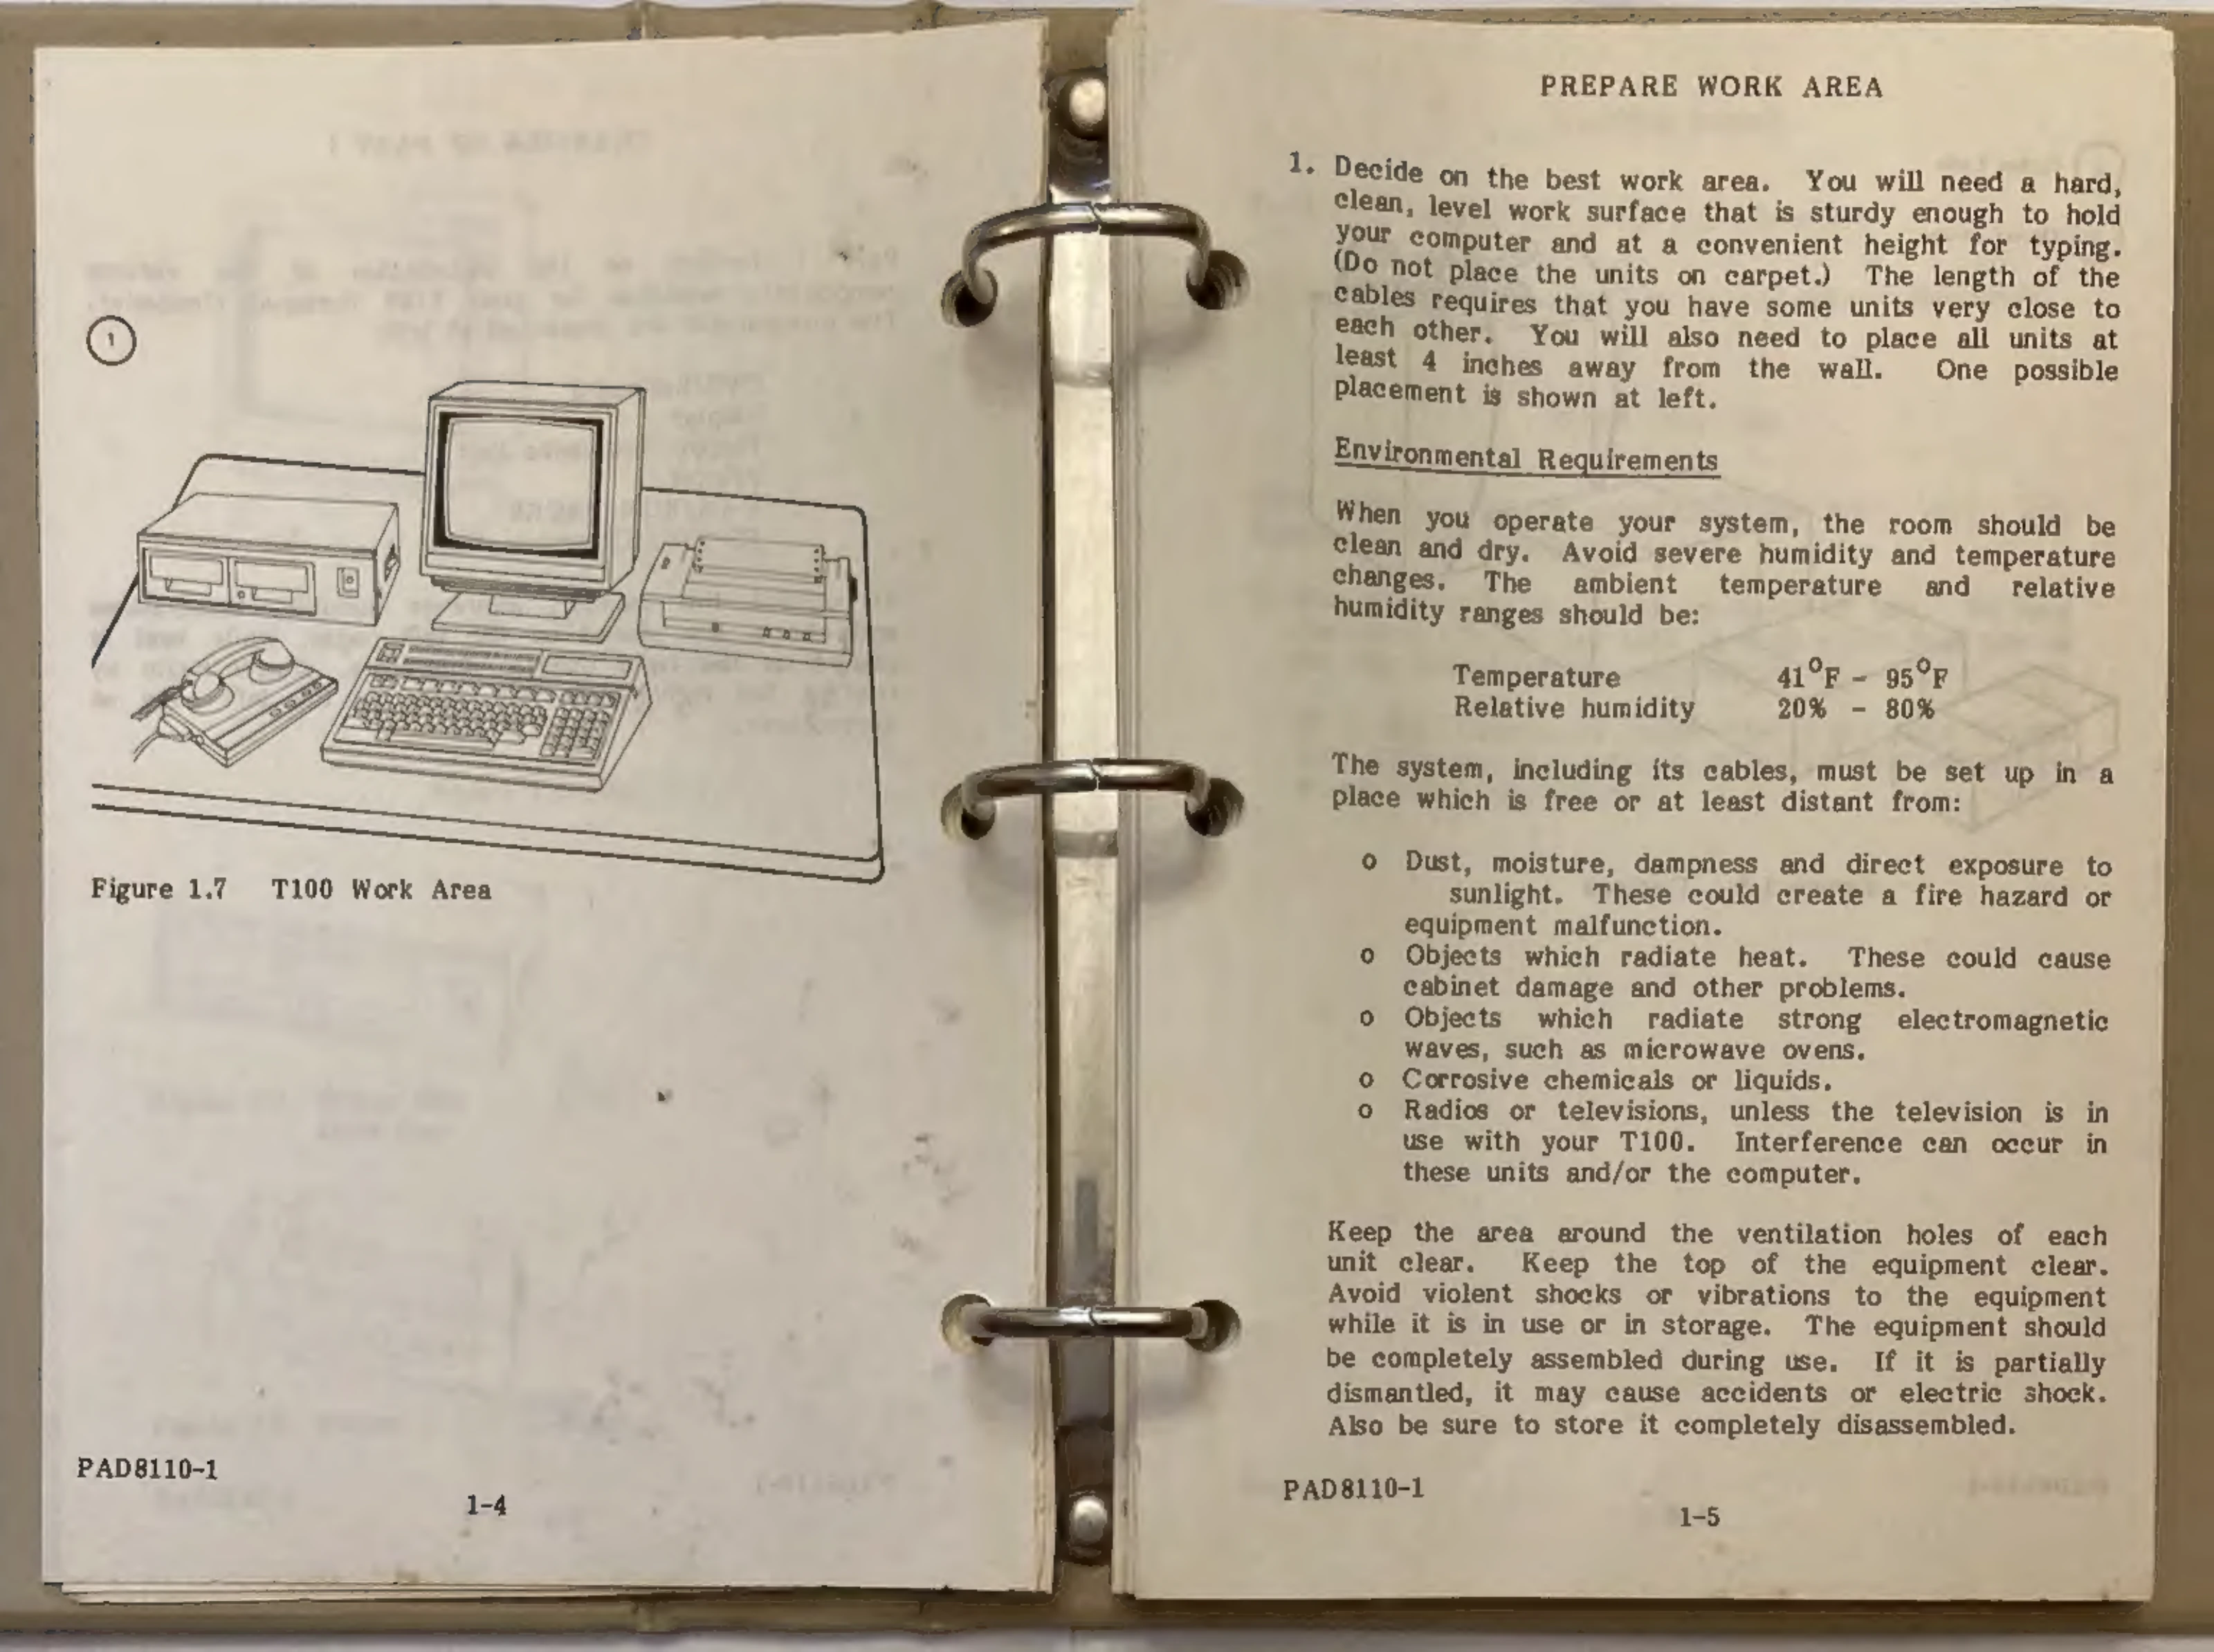
Warranty Information

None

Setting Up Your Computer

  1. Prepare Work Area: Choose a hard, clean, level, and sturdy surface. Ensure adequate space for cables and place units at least 4 inches from the wall.
  2. Environmental Requirements: Operate in a clean, dry room, avoiding extreme humidity and temperature changes. Keep away from dust, moisture, direct sunlight, heat sources, electromagnetic waves, corrosive chemicals, and liquids.
  3. Gather Tools: Scissors and a flathead screwdriver are needed.
  4. Open Cartons: Carefully open boxes, saving all packing materials.
  5. Install Components: Connect all cords and cables, ensuring they are freely movable. Do not plug any component into a wall socket until all are installed.
  6. CPU/Keyboard: Unpack, connect power cable to "AC IN".
  7. Display: Unpack, connect cable to CPU "COLOR" or "B/W".
  8. Floppy Disk Drive Unit: Unpack, remove head protectors, connect cables to CPU "EXT. BUS" and FDD "AC IN".
  9. Printer: Connect to CPU "PRINTER" using a specialized cable.
  10. RS-232C Communications: Connect to CPU "RS-232C" with a dealer-provided cable.
  11. RAM and ROM PACK: Install in the upper right corner of the CPU/Keyboard. Ensure CPU power is OFF.
  12. Plug In Power Cables: Connect all power cables to wall sockets (115 volts, 60 Hz AC).

Operating Your Computer

  1. Understanding Components: Familiarize yourself with the CPU/Keyboard, Display, Floppy Disk Drive Unit, Printer, ROM PACKS, and RAM PACKS.
  2. Taking Care of Disks: Protect floppy disks from damage, touching, extreme temperatures, liquids, magnetic fields, and heavy objects. Use felt-tipped pens for labels.

Troubleshooting and error codes

Problem Possible Cause Solution
No power Power cord not plugged in. Plug in power cord.
No display Display power not on. Turn on display power.
Disk drive not working Disk not inserted correctly. Reinsert disk.
Data error Disk damaged. Use a new disk.
Privacy Policy