Whirlpool MWP201SB Microwave Oven - Operation Summary
Installation
Prior to connecting, check voltage correspondence, ensure proper placement on a stable, even surface with adequate ventilation (at least 30 cm above). Do not place in a cabinet. Ensure the appliance is undamaged and the door closes firmly. Never operate with a damaged cord or plug, or without food in the oven.
Safety Instructions
Read and keep for future reference. Do not heat flammable materials. Do not use for drying textiles or other combustible items. If fire occurs, keep door closed, turn off power. Do not over-cook. Never leave unattended, especially with paper or plastic. Do not use corrosive chemicals. Do not hang items on the door. Intended for food and beverages only. Supervise children aged 8+; keep cord away from younger children. Do not heat food in airtight containers. Inspect door seals regularly.
Precautions
Domestic use only. Do not operate empty. Ensure ventilation openings are clear. Use a glass of water for initial operation if unsure. Do not store or use outdoors, near sinks, or in wet areas. Do not use cavity for storage. Remove wire twist-ties from bags.
Deep-Frying
Do not deep-fry as oil temperature cannot be controlled.
Liquids
Overheating can cause sudden boil-overs. Use straight-sided containers, stir before and after heating, and allow to stand. Always stir and check baby food temperature before serving.
Accessories
Ensure accessories are microwave-safe, oven-proof, and do not touch the oven interior. Metal accessories can cause sparking. Ensure turntable rotates freely.
Turntable Support & Glass Turntable
Use the support under the glass turntable. Do not place other utensils on the support. The glass turntable collects drips and food particles.
Maintenance & Cleaning
Disconnect power before cleaning. Use a soft damp cloth with mild detergent. Avoid abrasive cleaners. Steam cleaning appliances are not recommended. Clean regularly to prevent deterioration and hazards. Boil water with lemon juice or vinegar to remove odors.
Troubleshooting
Before calling for service, check plug, door closure, fuses, and ventilation. Wait 10 minutes and try again. Open and close the door. Contact service with serial and type numbers if issues persist.
Disposal
Dispose of old appliances according to WEEE directive for recycling and recovery.
Control Panel & Display
Features include Microwave, Defrost, Dough Rising, Yogurt, Keep Warm, Soft/Melt, Auto, Auto Clean, ECO STANDBY, STOP, START, and power/time adjustments.
Stand-by Mode & ECO STANDBY
Oven is in Stand-by when clock is displayed. ECO STANDBY saves power; press '+' and '-' simultaneously to enter/exit.
Start Protection / Child Lock
Activated one minute after returning to Stand-by. Requires door open/close to start cooking.
Pause or Stop Cooking
Open door to pause. Press STOP to cease. Settings maintained for 5 minutes. Close door and press START to resume. Remove food and press STOP to cancel. Display shows 'End' when finished.
Add / Stir / Turn Food
Oven pauses for these actions. Open door, perform action, close door, press START. If not done within 2 minutes, cooking resumes.
Clock Setting
In standby, press Auto Clean for 3 sec, use +/- to set hour/minute, confirm with Clock/START.
Auto Clean
Pour 300ml water into a container. Place in cavity. Press Auto Clean, then START. After cycle, remove container and clean interior. Use heat-resistant gloves. Add lemon juice or vinegar for better results.
Yogurt
Press Yogurt button. Add 1000g milk, 1g starter (or 15g yogurt), 50g sugar. Mix and place in cavity. Press START. Takes 5h 20m. Do not open door during countdown.
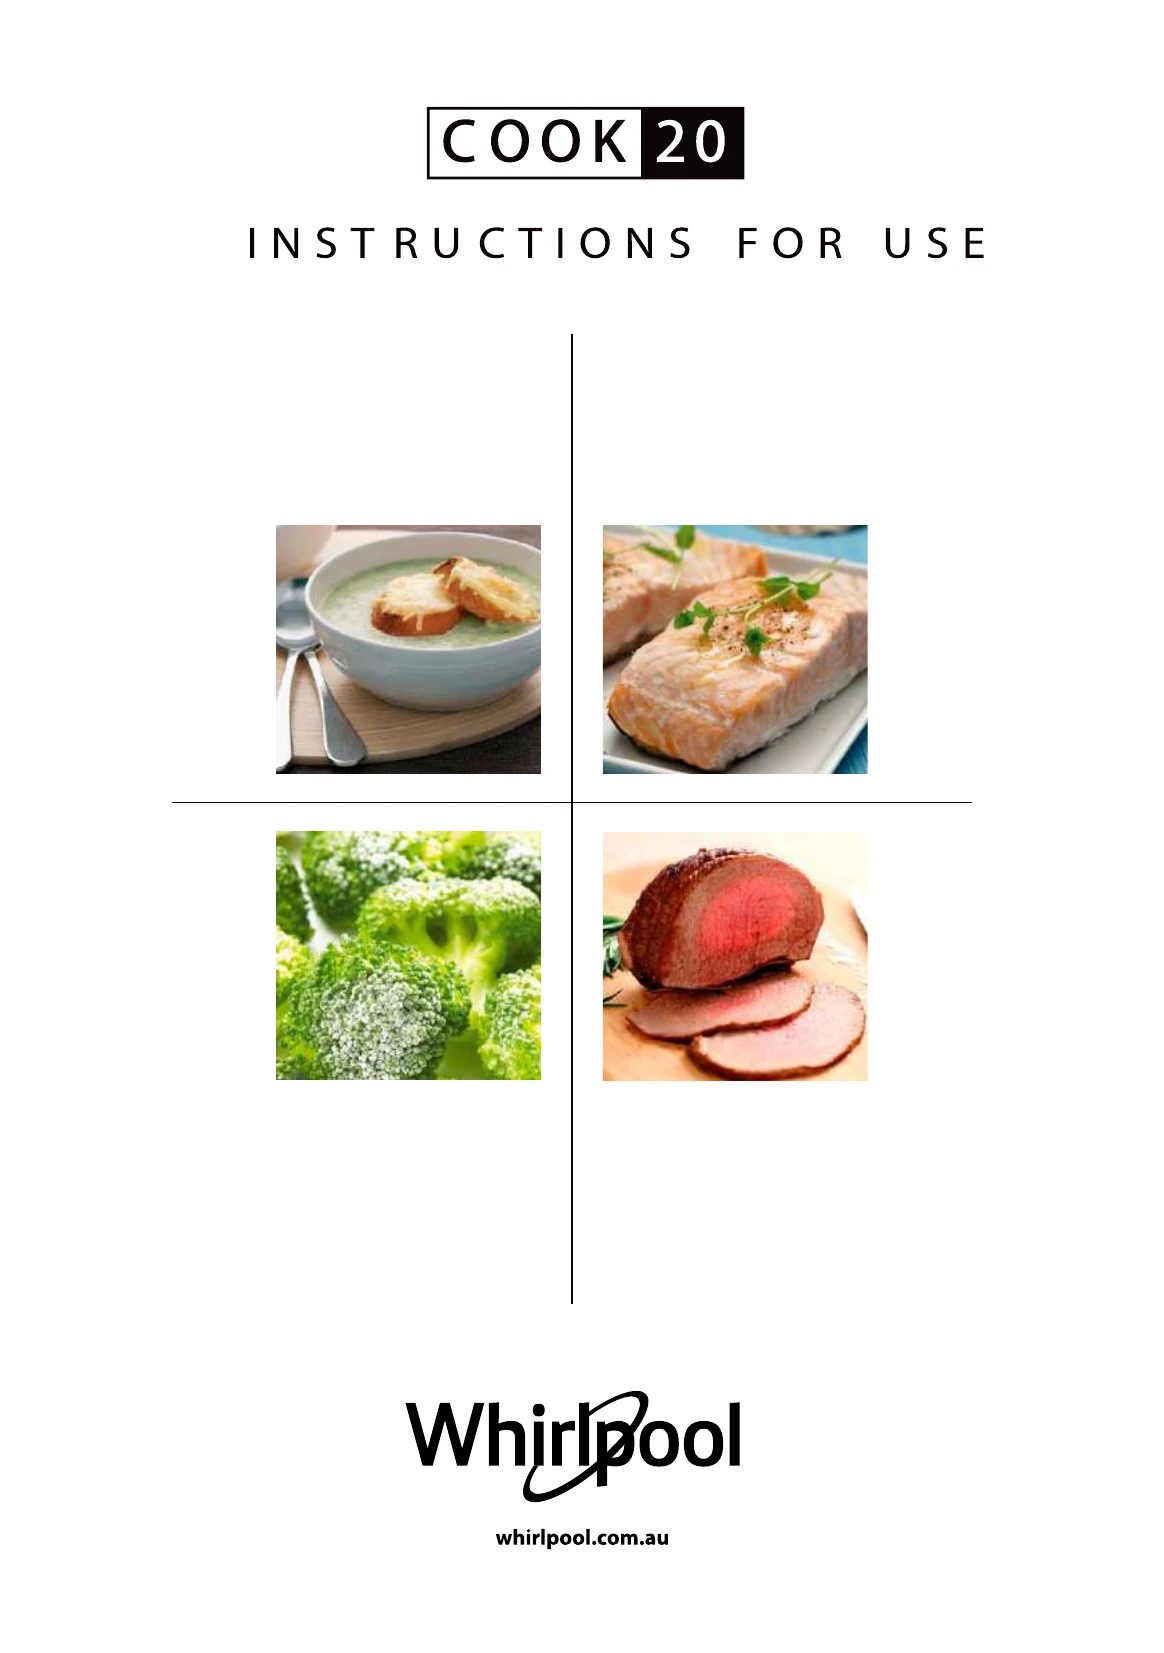
Microwave Cooking
Press Microwave button repeatedly to select power, use +/- for time. Longest time is 90 minutes. Refer to table for power levels and suggested uses.
Start Function
Press START to begin cooking at full power. Add time by pressing START again during cooking.
Defrost
Press Defrost, select food type, set weight, press START. Allow food to rest after defrosting. Adjust weight based on food temperature.
Soft/Melt
Select Soft/Melt, choose recipe by pressing button or +/-, set weight if applicable, press START. Refer to table for food types, weights, and hints.
Dough Rising
Press Dough Rising. Add 200ml water to a container, place in cavity. Press START. Takes 60 minutes. Do not open door. Container volume should be at least 3 times the dough volume.
Auto Cook Menu
Select Auto Cook, choose recipe, set weight if needed, press START. Follow on-screen prompts for Add/Stir/Turn food.
Keep Warm
Press Keep Warm, select time, press START to keep dishes warm automatically. Default is 15-30 minutes.